The Apple Mail app can handle all your inboxes from different email accounts. When using multiple email accounts, managing your conversations can get overwhelming. As such, it’s best to delete multiple emails to clean up your inbox and make it clutter-free.
This is especially helpful in the case of receiving too many junk or spam emails. In this post, we will share the steps to mass delete emails in the Apple Mail app. The steps apply to iPhone, iPad, and Mac users.
Delete Multiple Emails in Apple Mail on iPhone and iPad
Let us begin with the steps to bulk delete emails in the Mail app on your iPhone or iPad. Ensure that you are using the latest version of the app to avoid any hiccups while following the steps.
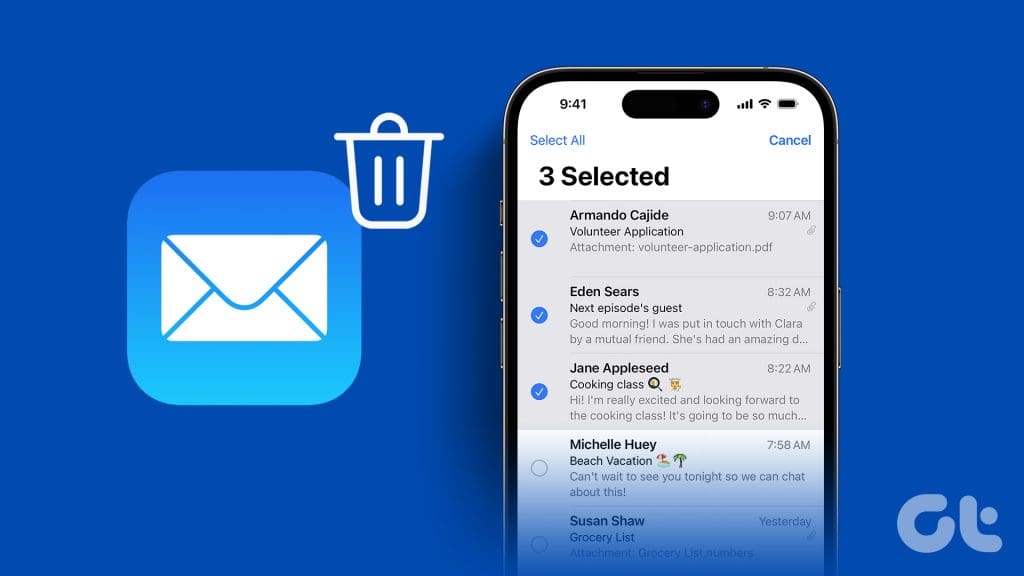
Step 1: Open the Mail app and tap on Edit at the top-right corner.

Step 2: Tap and select the individual emails that you want to delete.
To speed up the process, you can swipe down through the checkboxes to select multiple emails. You also have the option of Select All if you wish to remove all your emails from the inbox.

Step 3: Long-press the Archive option at the bottom-right corner and tap on Delete Selected Messages from the prompt that follows.


In case you prefer to delete emails instead of archiving them, here’s how to set it as the default option on your iPhone or iPad.
Step 1: Open the Settings app and tap on Mail.

Step 2: Tap on Accounts and select your email account.

Step 3: Tap on your email account and select Advanced.


Step 4: Select Deleted Mailbox. Then go to the Accounts page and tap Done at the top-right corner.


Delete Multiple Emails in Apple Mail on Mac
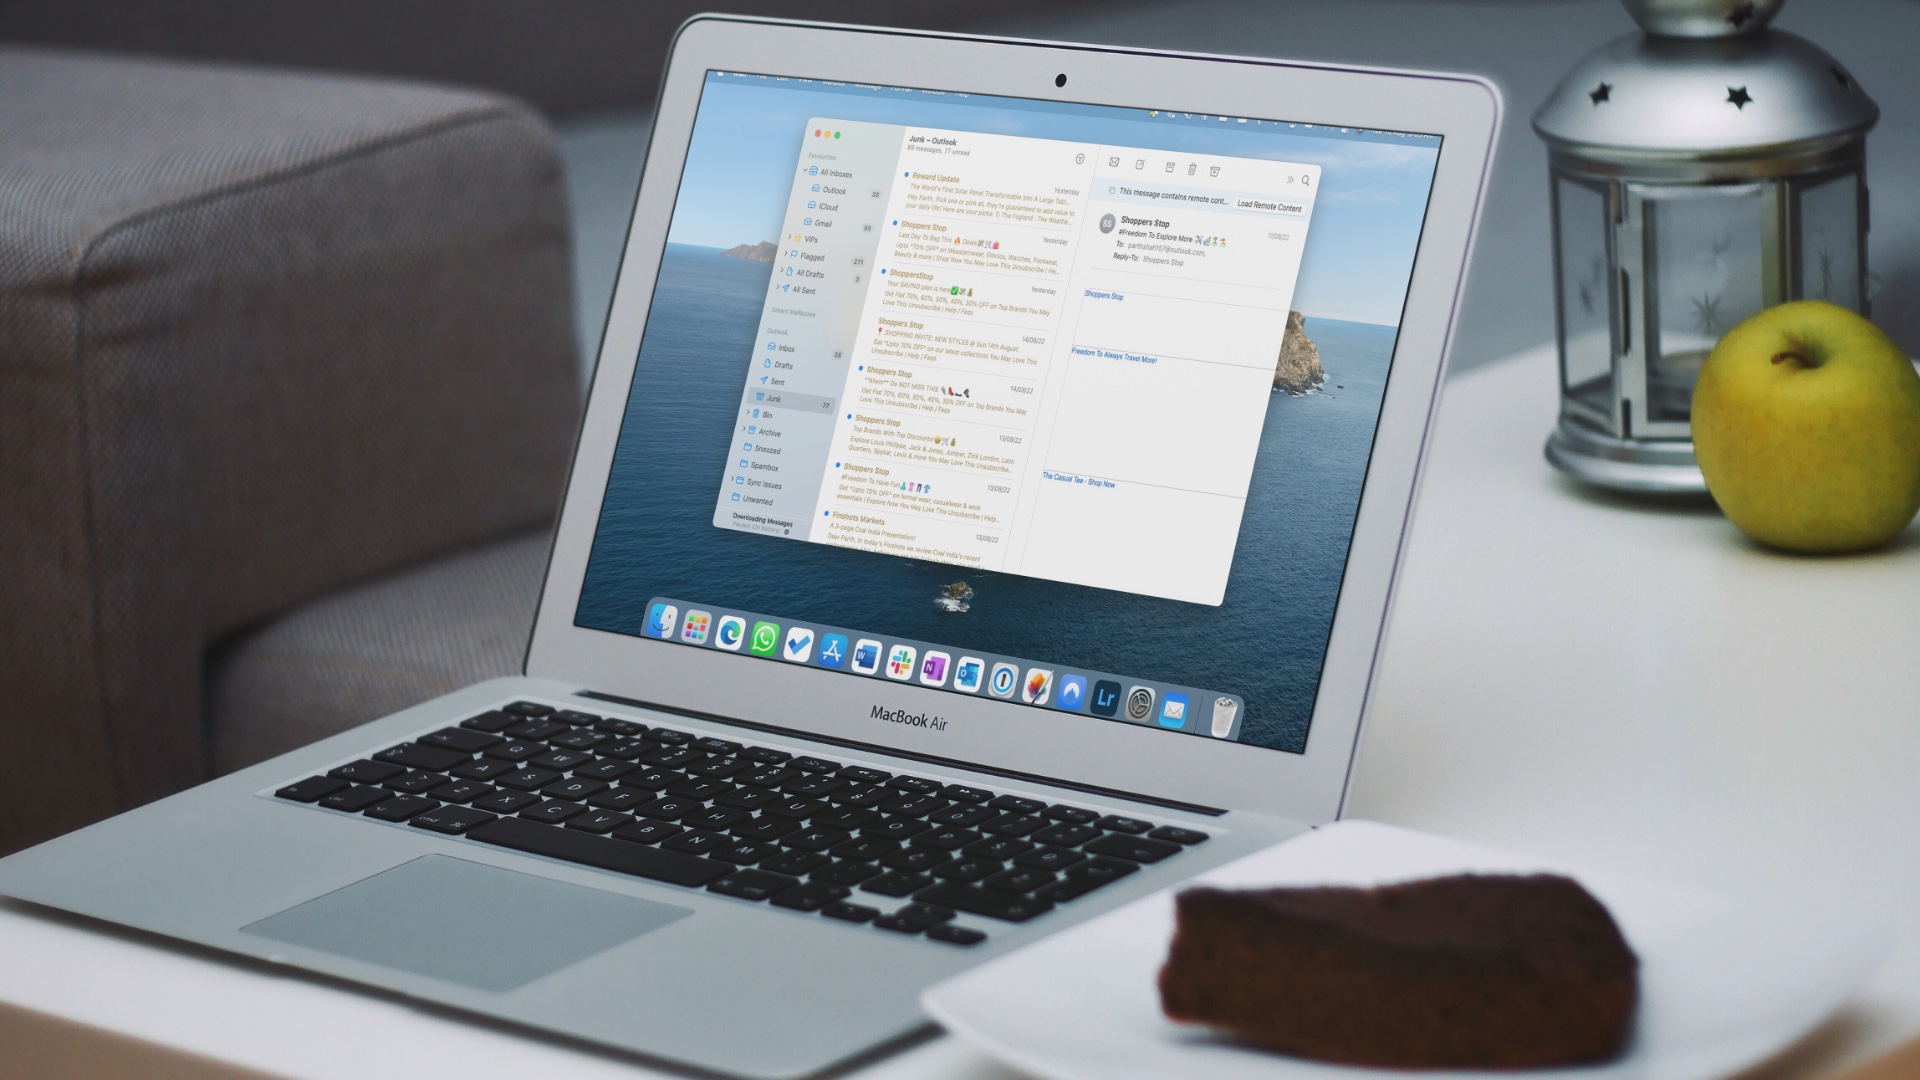
If you prefer using the Mail app mostly on your Mac, here’s how you can mass delete emails.
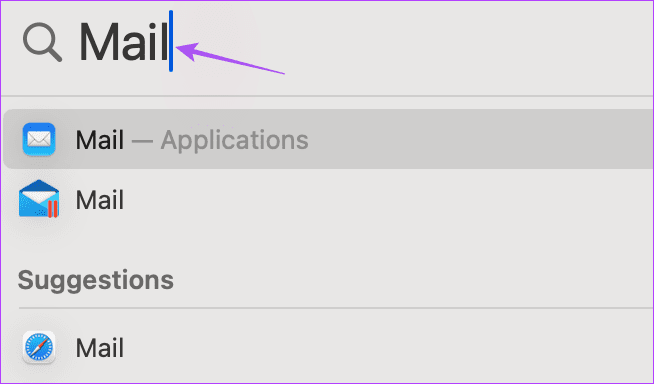
Step 1: Press Command + Spacebar to open Spotlight Search, type Mail, and press Return.
Step 2: Press Shift and Down Arrow keys to select the emails that you wish to delete. You can also press Command + A to select all your emails if you wish to clear your inbox completely.
Step 3: Click the Delete icon at the top right side.

You can also refer to our posts in case the Mail app is not syncing your Gmail or Outlook accounts.
Delete All Emails From One Sender in Apple Mail
If you wish to delete multiple emails you received from one sender in your inbox, here’s how you can go about it.
On iPhone and iPad
Step 1: Open the Mail app and search for the sender’s name.
Step 2: Once you see all the emails received from that sender, tap on Edit and select those emails.

To speed up the process, you can swipe down through the checkboxes until you reach the bottom of the screen. This will speed up the process of selecting all the emails.
Step 3: Tap the Delete icon at the bottom.

On Mac
Step 1: Open the Mail app on your Mac and search for the sender’s name.
Step 2: Once you see all the emails received from that sender, press Command + A to select them all and click the Delete icon.

Recover Deleted Emails in Apple Mail
If you accidentally delete an important email or two, you can easily recover it on the Mail app as it saves your deleted emails.
Recover Deleted Emails on iPhone and iPad
Step 1: Open the Mail app and tap on Mailboxes.

Step 2: Tap on Bin and select the email that you wish to recover.

Step 3: Tap the Back Arrow icon at the bottom and select Move Message.


Step 4: Select Inbox to recover your deleted email.

Recover Multiple Deleted Emails on iPhone and iPad
Step 1: In the Bin menu, tap on Edit at the top-right corner and select the chats that you wish to recover.

Step 2: Tap on Move at the bottom and select Move Messages.


Step 3: Select Inbox to recover your deleted emails.

Recover Deleted Email On Mac
Step 1: Open the Mail app and click on your mailbox from the left menu.

Step 2: Click on Bin from the left menu.

Step 3: Select the email(s) that you wish to recover.
Step 4: Right-click on your selection and go to Move To.

Step 5: Click on Inbox for your preferred email account.

Change Email Removal Period For iCloud Mail
Other email services like Gmail and Outlook keep your deleted emails for up to 30 days before removing them permanently. If you prefer using iCloud mail, you can change the time period after which your deleted emails should be removed permanently.
Step 1: Open the Settings app on your iPhone or iPad and select your profile name.
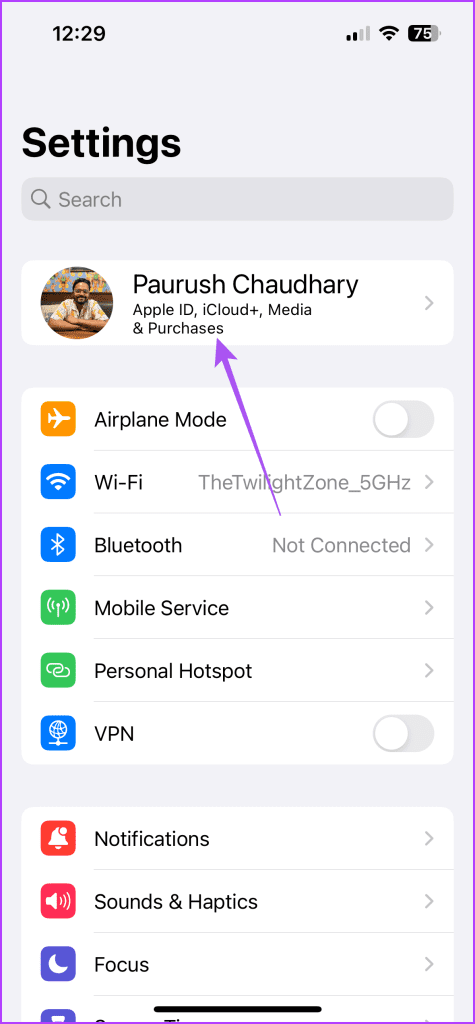
Step 2: Tap on iCloud and select iCloud Mail.


Step 3: Go to Mailbox Behaviors and select Remove.


Step 4: Tap on the time interval of your choice for removing your deleted emails permanently.
Remove Emails That You Don’t Need
You can mass delete emails in the Apple Mail app to manage your mailbox in a better way. You can also choose to block email addresses in the Mail app to stop receiving emails.
Was this helpful?
Last updated on 30 January, 2024
The article above may contain affiliate links which help support Guiding Tech. The content remains unbiased and authentic and will never affect our editorial integrity.

