The Dock on your Mac houses a specific number of app icons and also showcases the recently used apps. However, at times, it can be inconvenient to open certain apps that appear too cramped on your Dock.

The good news is that you can add more space between icons in Dock on your Mac. Do note that this is different from increasing or decreasing the size of your Dock.
How to Add Dock Spacer on Your Mac
You can use the Terminal app on your Mac to add more space between icons on your Dock. By running a bunch of commands, you will be able to add space separators for your apps in the Dock on your Mac. Here’s how.
Step 1: Press Command + Spacebar to open Spotlight Search, type Terminal, and press Return.
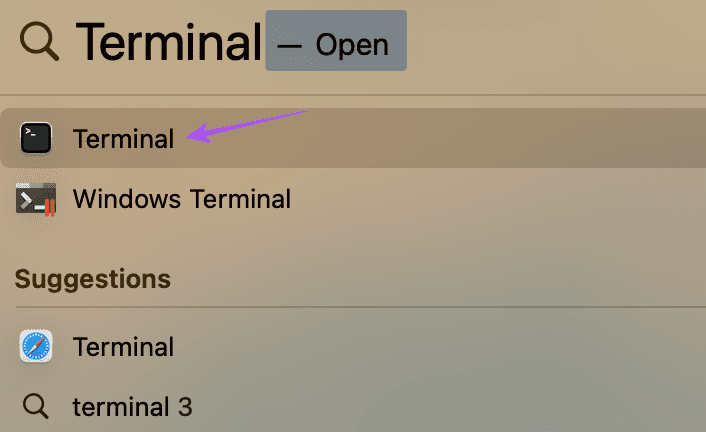
Step 2: Enter the following command in Terminal and press Return.

defaults write com.apple.dock persistent-apps -array-add '{tile-data={}; tile-type="spacer-tile";}'Step 3: After running the command, you will need to refresh the Dock to apply the changes. For that, enter the following command and press Return.

killall DockStep 4: Type the following command and press Return. Then close the Terminal window.

exitYou will now see a space created to separate your apps on the Dock. You can drag the empty space on the Dock as per your needs to separate the apps. It is similar to dragging an app icon anywhere on the Dock.

Add Spacer to Document Side of the Dock
You can also choose to add space between icons on the document side of the Dock. Here’s how.
Step 1: Press Command + Spacebar to open Spotlight Search, type Terminal, and press Return.

Step 2: Enter the following command in the Terminal window and press Return.

defaults write com.apple.dock persistent-others -array-add '{tile-data={}; tile-type="spacer-tile";}'Step 3: After running the command, you will need to refresh the Dock to apply the changes. For that, enter the following command and press Return.

killall DockStep 4: Type the following command and press Return. Then close the Terminal app window.

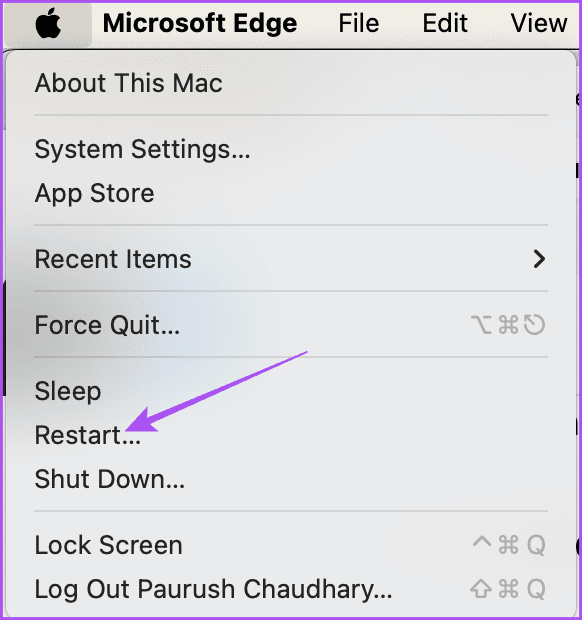
exitIn case you don’t see any change in the Dock, click the Apple logo at the top-right corner and select Restart.
How to Remove Dock Spacer on Mac
To remove the space between apps, right-click on that space and select ‘Remove From Dock.’

Can’t Add Spacer in Dock on Mac
In case you cannot add space between icons in Dock on your Mac, here are two basic solutions to fix the issue.
1. Force Quit and Relaunch Terminal
Force quitting and relaunching will give the Terminal app a fresh start on your Mac.
Step 1: Click the Apple logo at the top-left corner and select Force Quit.

Step 2: Select Terminal and click on Force Quit.

Step 3: Relaunch Terminal and check if the command is running now.
2. Update macOS
You can update the Terminal app by installing an updated version of macOS.
Step 1: Press Command + Spacebar to open Spotlight Search, type Check For Software Updates, and press Return.
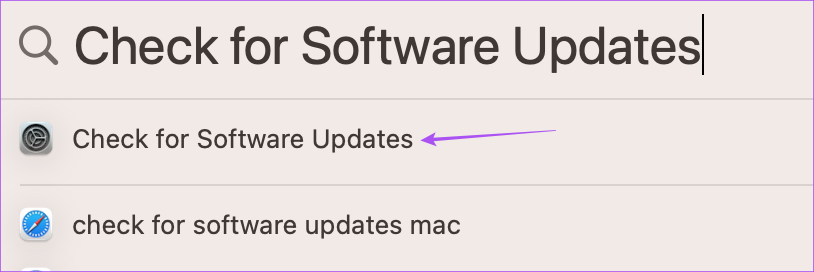
Step 2: If an update is available, download and install it.
Step 3: Once the update is installed, launch Terminal and check if the problem is solved.
Change Dock Position on Mac Screen
By default, the Dock is placed at the bottom of your Mac screen. But you can change the position of the Dock as per your liking. Here’s how.
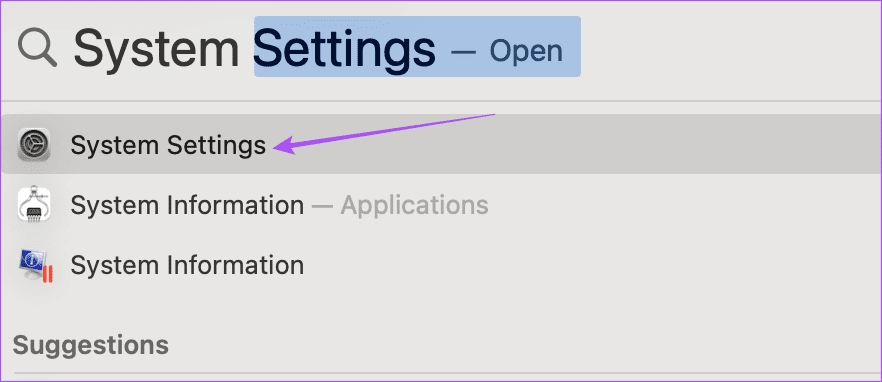
Step 1: Press Command + Spacebar to open Spotlight Search, type System Settings, and press Return.
Step 2: Click on Desktop and Dock from the left menu.

Step 3: Click the dropdown menu next to ‘Position on Screen’ and change it as per your choice.

The Dock will instantly appear at the new position on your Mac screen.
You can refer to our post to learn about more ways to customize Dock on your Mac.
Create More Space
You can add space between icons in Dock on your Mac by using the Terminal app. The app lets you customize the interface and other settings on your Mac. You can refer to our post to learn about some Terminal command tricks for your Mac. We do advise using these commands carefully, as one wrong command could do more harm than good.
Was this helpful?
Last updated on 14 March, 2024
The article above may contain affiliate links which help support Guiding Tech. The content remains unbiased and authentic and will never affect our editorial integrity.

