You can Microsoft PowerPoint more interesting and intuitive by using icons instead of just text. For example, most people know that an exclamation mark within a triangle represents a warning. We also know that a trash icon represents delete.

Not only are icons convenient, but most times, they make a presentation visually appealing. With Microsoft PowerPoint, users can add icons through the methods below.
1. Using the Default Icons on Microsoft PowerPoint
In applying this method, users must have a Microsoft 365 subscription. If you have one, follow this process:
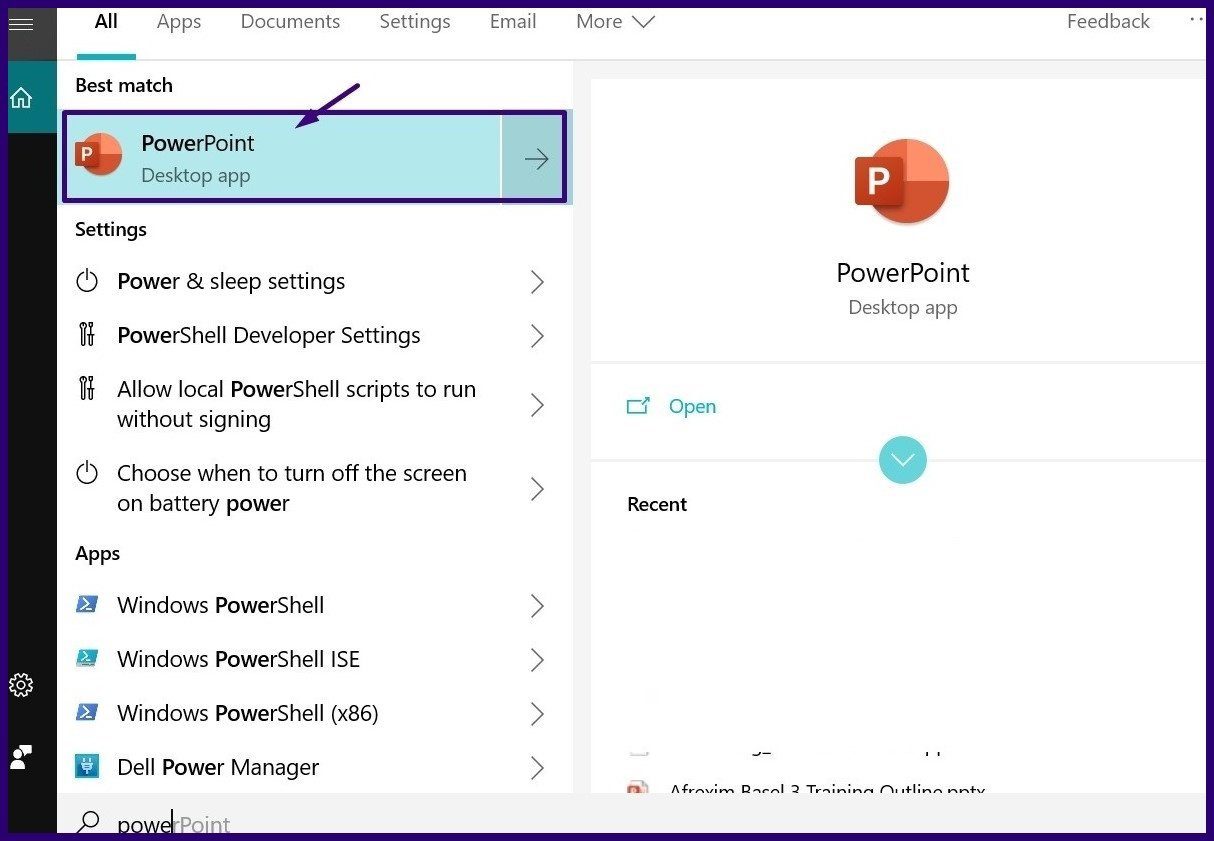
Step 1: Launch the Microsoft PowerPoint app.
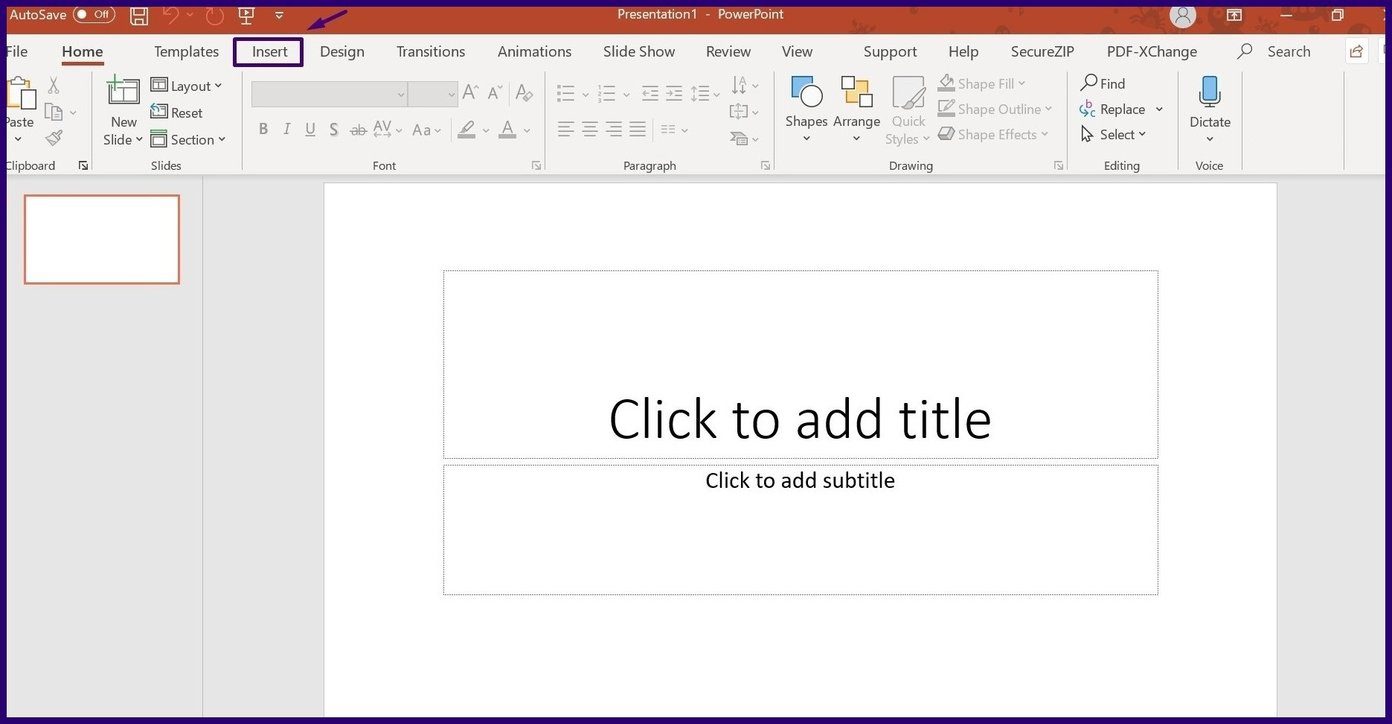
Step 2: On the Ribbon, select the Insert tab.
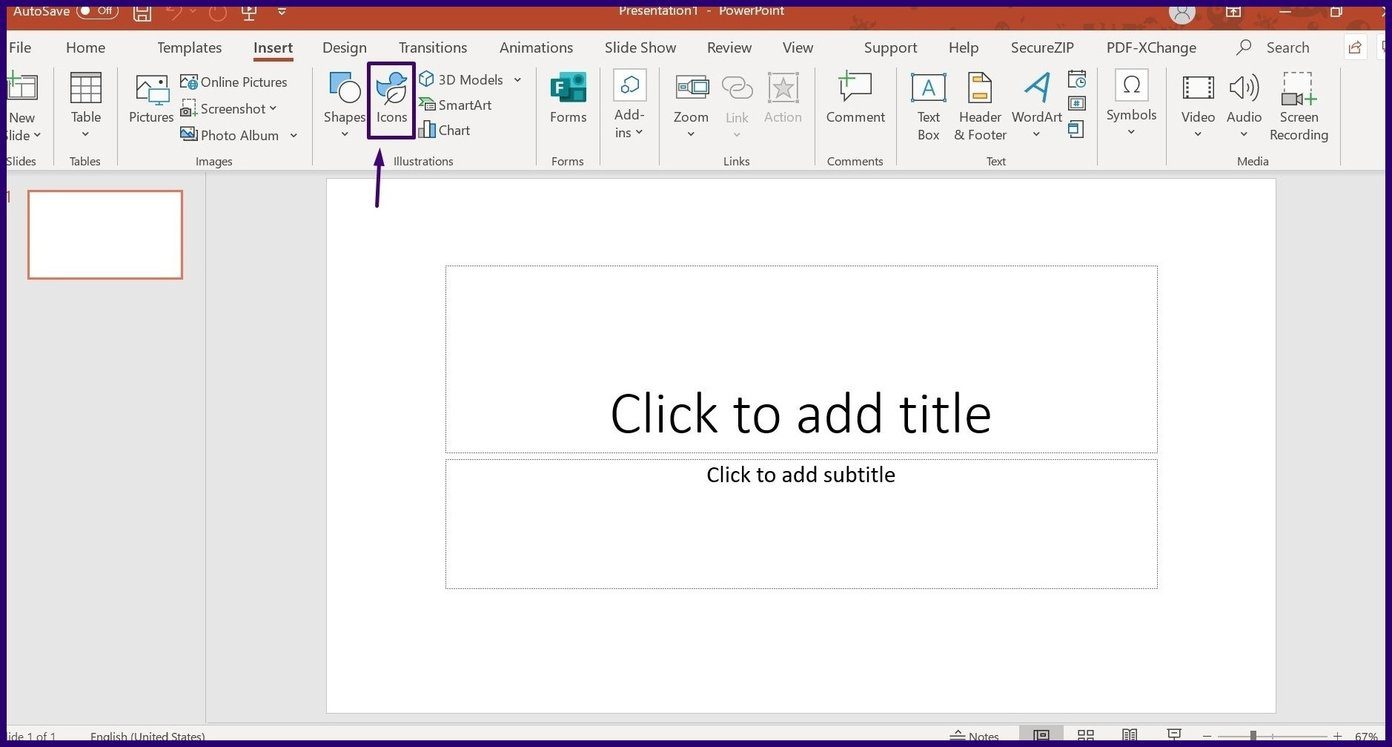
Step 3: Select the Icons tab to bring up the menu containing all the Icons.
Step 4: Browse through the icon offerings and click Insert to select your preferred icon.

Step 5: After that, right-click and select your preferred color for the chosen icon.
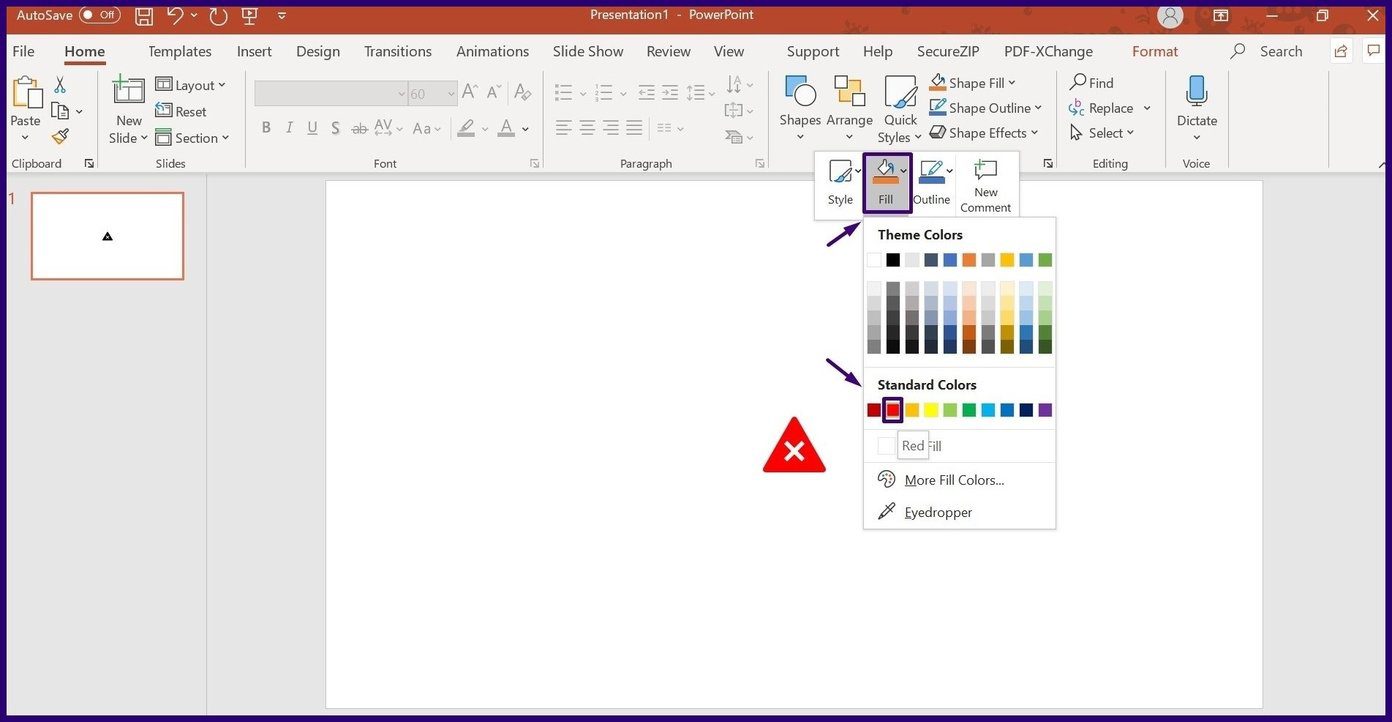
This method is easy, straightforward, and time-saving. However, it restricts you to only the options given by the software. In other words, you’ll have limited options.
2. Convert Emojis to Icons
Yes, you read that right. You can convert emojis to icons by following these steps:
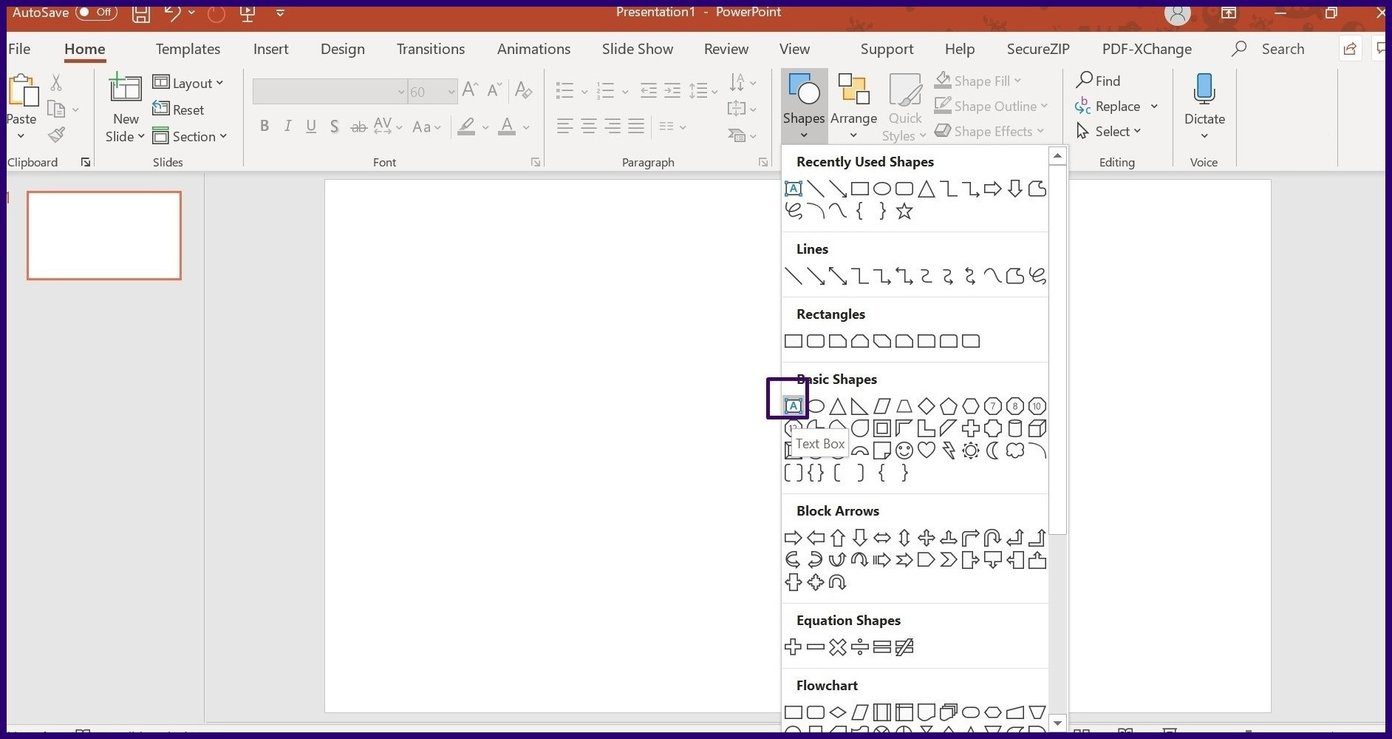
Step 1: On the Ribbon, select the Shapes tab.

Step 2: Select the option to Insert a text box.
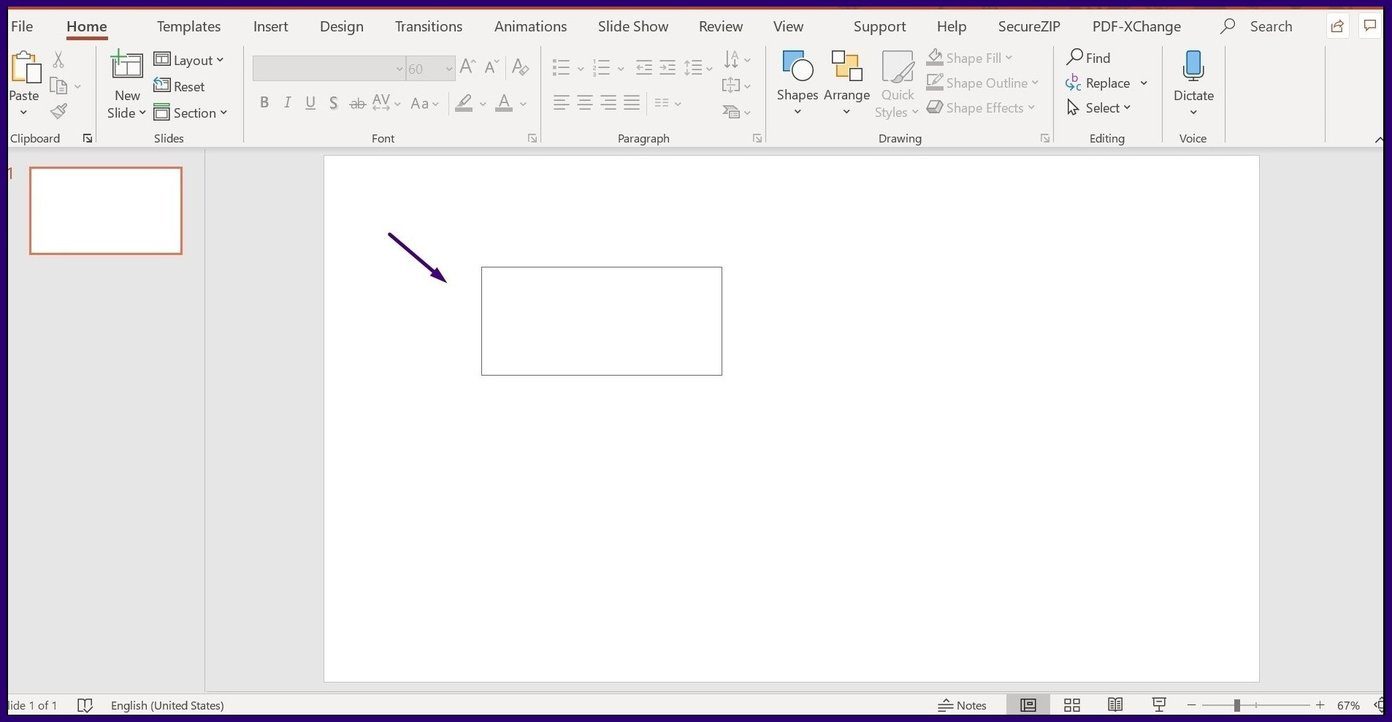
Step 3: Draw your textbox anywhere on your PowerPoint slide.
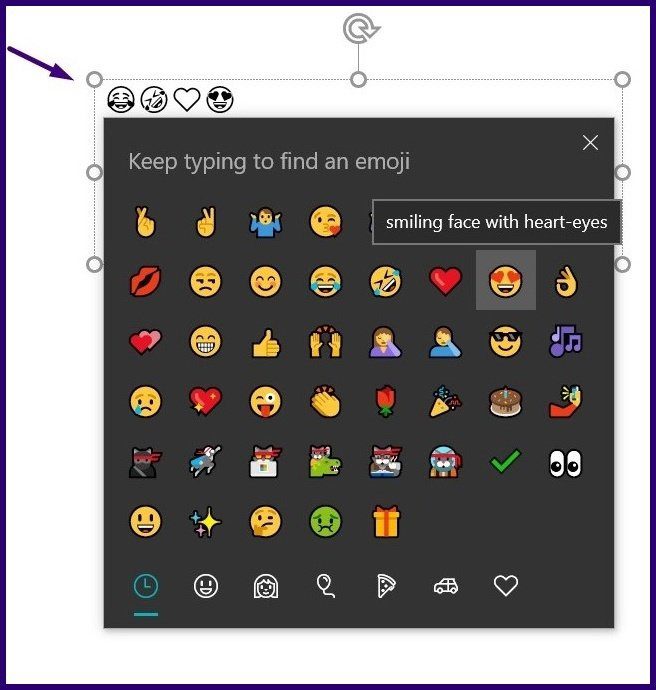
Step 4: Press and hold the Windows + . (period) keys together. Then, the emoji menu will pop up.

Step 5: Select your preferred emoji and it should show up in the textbox.
Step 6: Select the Shapes tab and insert a rectangle over the emoji.

Step 7: Right-click the rectangle and click on Select to Back and this should bring the emojis forward.

Step 8: Click on the rectangle, hold down the Ctrl key and click on the text box with the emoji in it.
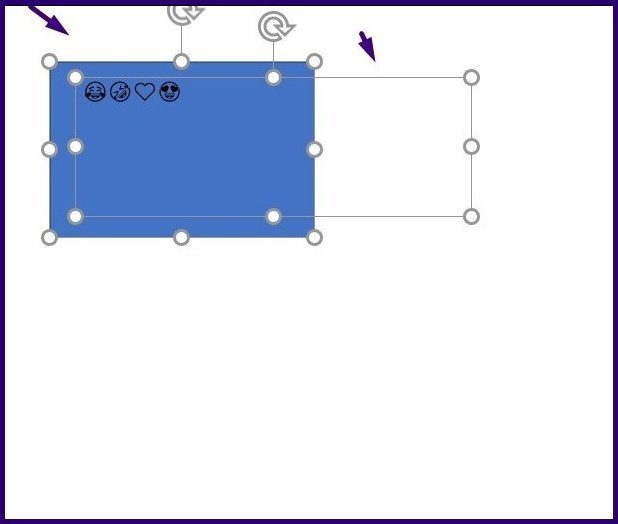
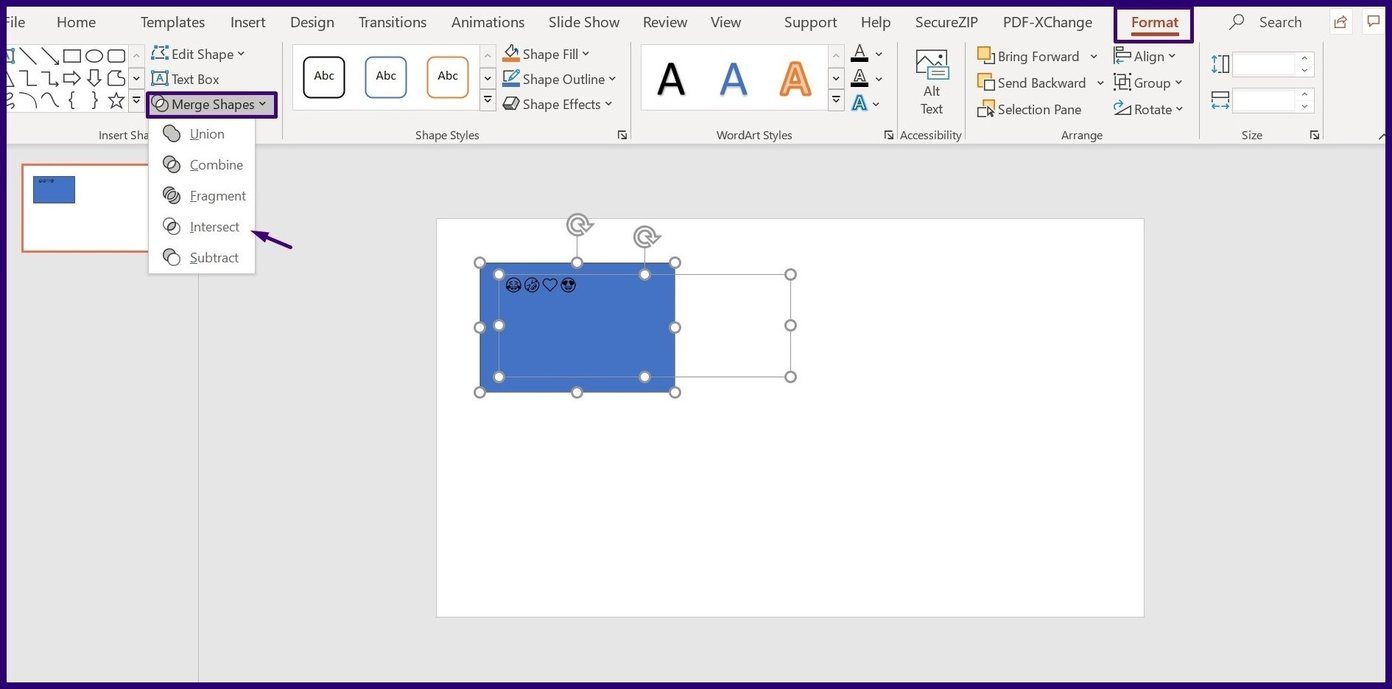
Step 9: Click on Format, Merge Shapes and Intersect and the emoji becomes an Icon.
Step 10: To change the color of the Icon, simply right-click and select your preferred Fill or Outline color.
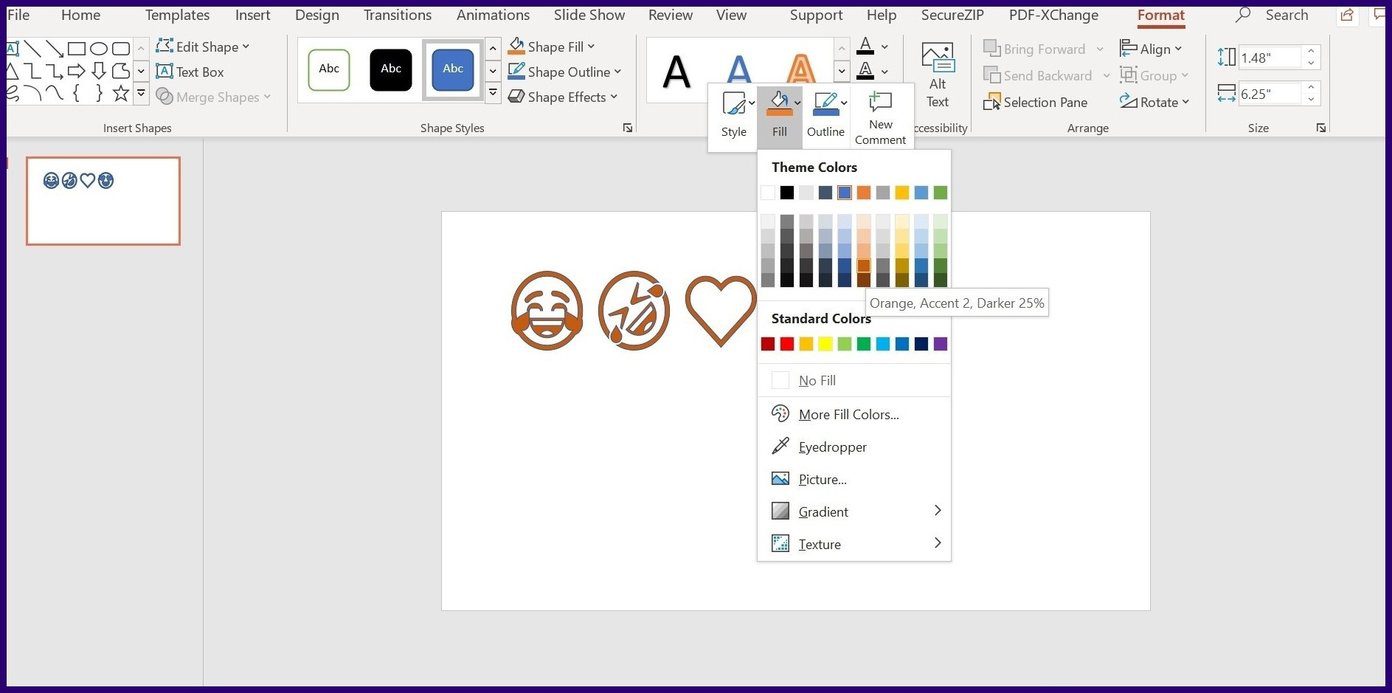
You can choose from a wide range of options, and that’s cool. Also, the method is available to both Windows and Mac users. However, this method works only for Window 10 and not the earlier editions.
3. Create Icons Using Shapes
This method is perhaps the most creative as it gives room for innovation and creativity. It involves the use of Shapes and the Merge feature on PowerPoint.
Step 1: Using a search engine, search for an icon you want to create. In our case, we opted to create a warning sign.

Step 2: Break down the components or shapes making up the sign. A simple warning sign has an exclamation mark in the middle of a triangle.

Step 3: Insert the relevant Shapes. In our case we opted for a Triangle, Parallelogram, an Oval and the Delay Flow chart Shape.
Step 4: Combine the relevant Shapes in the form of your envisioned Icon.
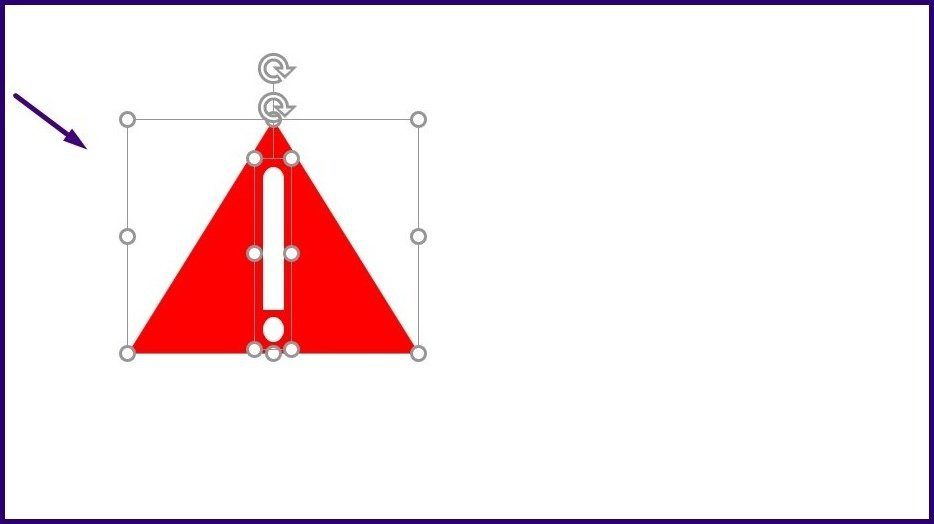
Step 5: Highlight the Shapes by holding down your left key and creating a rectangle around them.
Step 6: On your keyboard, click on Ctrl + G to group the shapes.
Since the icons are being created using Shapes, users can create different varieties. The only downside is that you need to know PowerPoint well enough to pull this off for achieving a desired look.
Make Presentations Fun
One or all of the methods mentioned above should be useful in helping you add diversity to your Microsoft Presentations. Alternatively, if none of the above options are up your alley, you can always browse through the Internet for ready-made icons and insert them in your Presentation. However, a downside to this seemingly easy method is that the scalable vector graphics aren’t always free.
Thinking of more cool tricks you can do on Microsoft PowerPoint? Check out this cool method of creating animations on Microsoft PowerPoint.
Was this helpful?
Last updated on 13 July, 2021
The article above may contain affiliate links which help support Guiding Tech. The content remains unbiased and authentic and will never affect our editorial integrity.


