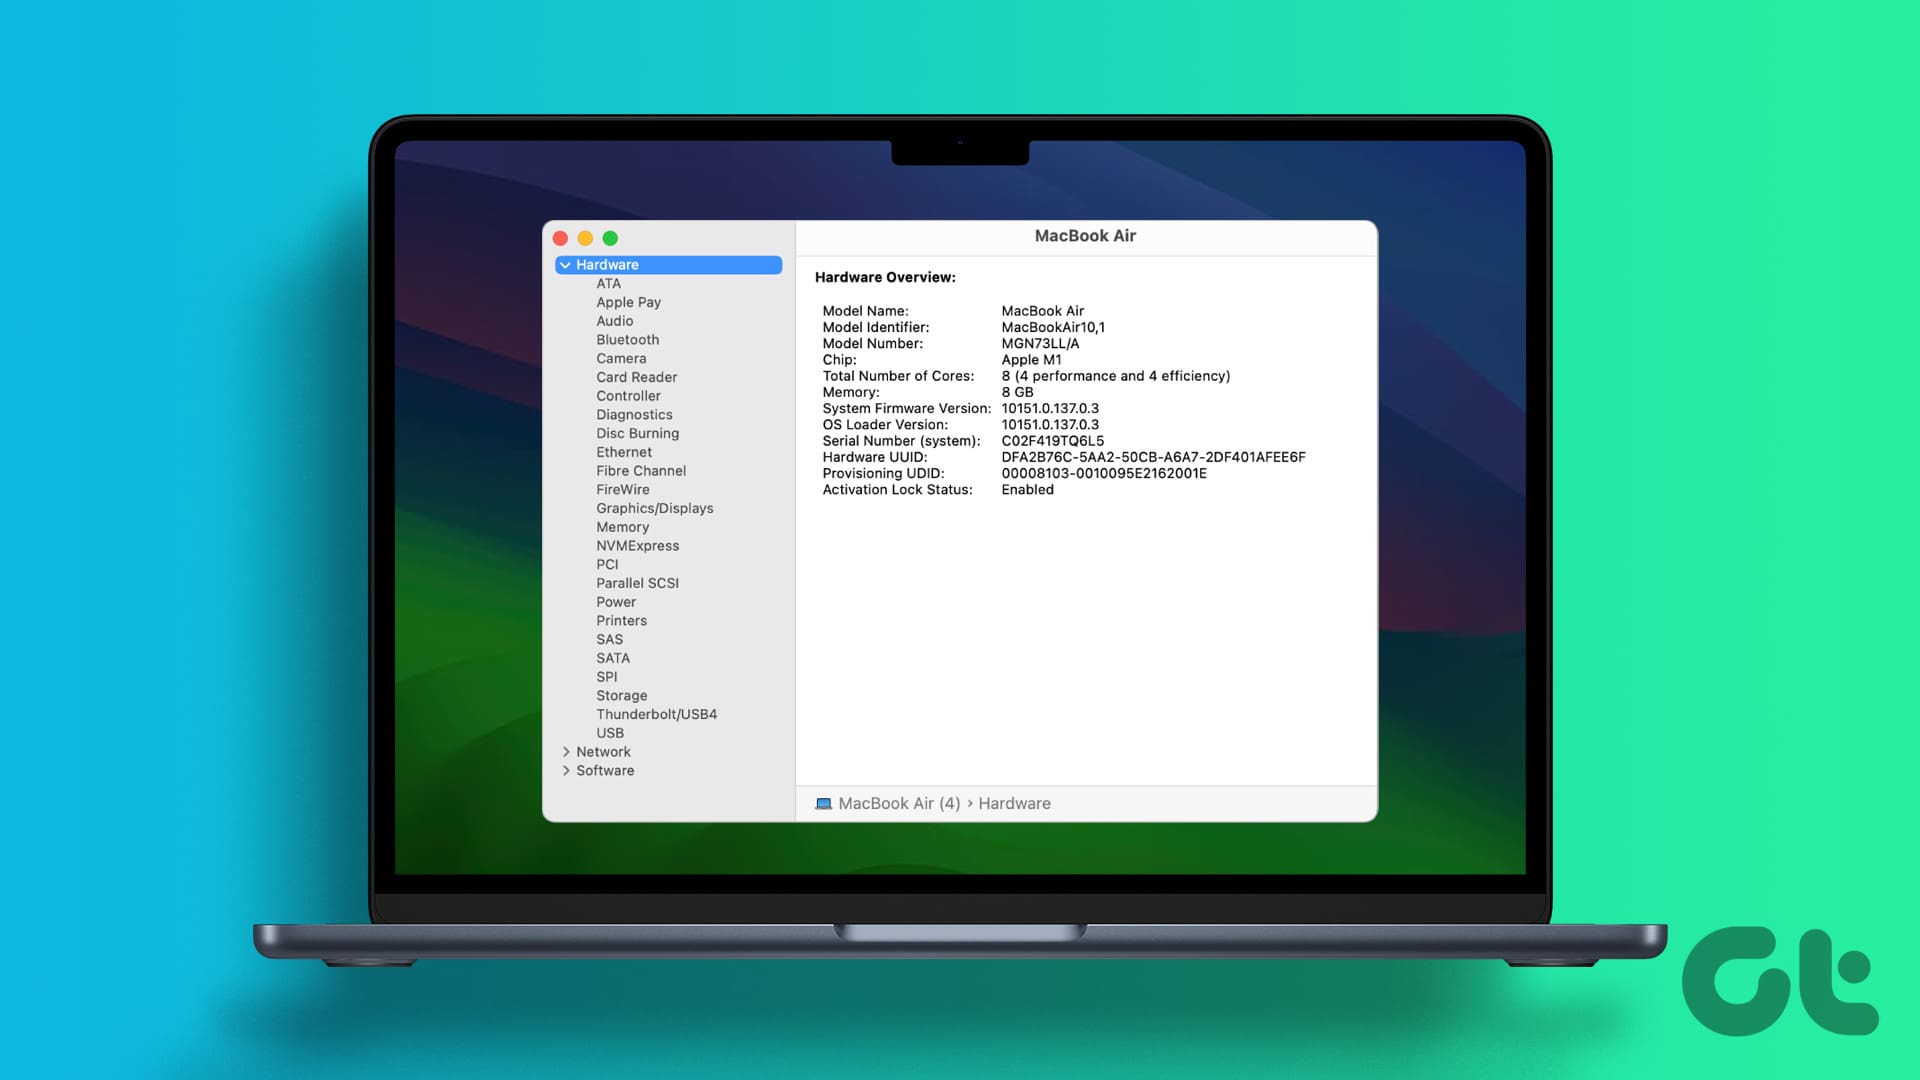
Have you ever wondered how to share insights with tech support when needed? Understanding how to read and share a system report on MacBook can help immensely in troubleshooting and optimizing your device’s performance. Whether you’re a seasoned Mac user or just getting started, mastering this skill will save you time and frustration.

But first things first, what exactly is a system report on Mac, and why should you care? A system report comprehensively overviews your Mac’s hardware, software, and network configurations. It helps diagnose hardware issues, identify software conflicts, and optimize performance. Now that you know why it is essential, let’s begin with the article.
How to Check MacBook Specs Using System Report
There are multiple ways to access your MacBook’s system report. We will explain all the methods available on macOS step-by-step. Let’s begin with the most common and easiest way to get system information on a Mac.
1. Check MacBook Specs From About This Mac
Step 1: Click on the Apple icon in the top-left corner.
Step 2: Select ‘About This Mac’ from the drop-down menu.

In the pop-up window, you will see basic information about your MacBook, such as the chip, RAM, serial number, and macOS version. To know more about your Mac, click the More info button to see the complete system information.
Continue reading to learn in-depth details about your MacBook, such as hardware, network, and software information.
2. Get System Information on Mac From System Settings
Step 1: Press the Command + Space button on your keyboard. Then, type Settings and hit the Return key.

Step 2: Go to General from the left pane.

Step 3: Select the About option on the right pane.

Step 4: Finally, scroll down and click System Report.

This will launch a new window displaying your Mac’s details in detail. Alternatively, launch System Information from the Spotlight search or by directly searching in the app list.
If you are good with command lines, view the system information using Terminal; keep reading.
Also Read: How to fix the wrong date and time on Mac
3. Using Terminal
Unlike the above methods, this method is slightly complicated. But rest assured, you can find RAM, processor, and other hardware info on the MacBook quickly through this. Here’s how to go about it.
Step 1: Press the Command + Space button on your keyboard. Then, type Terminal and hit the Return key.

Step 2: Once the Terminal is launched, type the below command based on what you are looking for and press the Return key.
For Hardware Details:
system_profiler SPSoftwareDataType SPHardwareDataType
For Network Details:
system_profiler -listDataTypes
For Software Details:
sw_vers

You will see detailed information about your Mac’s hardware, network, and software.
Also Read: How to unlock notes when password is forgotten on Mac and iPhone
4. Using Third-Party Tools
While macOS’s built-in System Report offers valuable insights, some users might need more advanced features or specific information not included in the native report, which is where third-party tools come into the picture. There are many third-party apps available for Mac, such as EtreCheckPro (freemium), iStat Menus (paid), and DaisyDisk (paid).
These tools not only give out CPU, memory, disk usage, network activity, and sensor data like temperature and fan speed but also dive deeper into system logs to identify compatibility issues, performance bottlenecks, and security risks. For demonstration, we will go with EtreCheckPro. Follow the below steps.
Step 1: Go to EtreCheckPro’s official website from your preferred browser and click the Free download button on the top right corner. This will download the app in a zip file. Now, double-click on the zip file to unzip it.
Step 2: Now, double-click on the EtreCheckPro.app to start the installation process.

Step 3: In the warning pop-up, click Open.

Step 4: Click on ‘Ask me later’ or choose your preference in the ‘Do you want to automatically check for updates every time you run EtreCheckPro?’ window.

Step 5: In the ‘Create a new EtreCheck Report’ window, select from the listed problems. You can choose ‘No problem – just checking.’

Step 6: Finally, click the Start button.

With this, EtreCheck will start analyzing the system hardware, network, software, and so on to generate a report, which you can review once generated.
How to Share Mac’s System Report
Sharing your MacBook’s System Report can be invaluable when troubleshooting technical issues or seeking assistance from support forums or Apple’s customer service. Follow the below-mentioned steps.
Step 1: Press the Command + Space key on your keyboard, type System Information, and press the Return key.

Step 2: Navigate to the information section from the left pane you want to share.
Step 3: Once the information you want to share appears, go to File in the toolbar and select Print from the drop-down menu.
Note: Alternatively, press Command + P to print.

Step 4: In the pop-up menu, click on the chevron icon and choose ‘Save as PDF’ from the drop-down menu.

Step 5: Now, name the file, choose the location, and finally, click Save.

That’s it. The file will be saved to the set location. Once saved, you can annotate your PDF before sharing the PDF file with someone you want.
FAQs About System Report on MacBook
Yes, you can use the Remote Management feature or screen-sharing options to access the System Information application on another Mac. Ensure that both MacBooks are connected to the same network and have the necessary permissions.
No, the system report is a read-only view of your system’s current state. You cannot clear or reset the data within the report.
No, checking for software updates is typically done through the Software Update section in System Settings. The system report provides detailed information about your hardware and software configuration.
Know Your MacBook
With the ability to access and share the system report on MacBook, you can take control of your device’s performance, share detailed information with support professionals, streamline the troubleshooting process, and ensure your Mac runs smoothly. You may also want to read how to leave family sharing.
Was this helpful?
Last updated on 16 February, 2024
The article above may contain affiliate links which help support Guiding Tech. The content remains unbiased and authentic and will never affect our editorial integrity.


