Apple Watch makes calling convenient. Whether you want to place or receive one, you can do it straight from your wrist. However, after the call failed troubles on iPhones, this issue has also made its way to the Apple Watch. If you, too, are facing the call failed error on your Apple Watch, we have enlisted a few solutions to resolve the problem.

As per numerous reports, the call failed issue plagues Apple Watches of all generations. So, regardless of your version, you might encounter this problem. All the solutions mentioned below are applicable to all the Apple Watch models. So, let’s begin.
1. Restart Your Watch
While restarting is the most essential step, it is one of the most efficient fixes. If your Apple Watch is flagging the call failed error, start with a simple restart. In fact, this fix has helped many users recover from this problem.
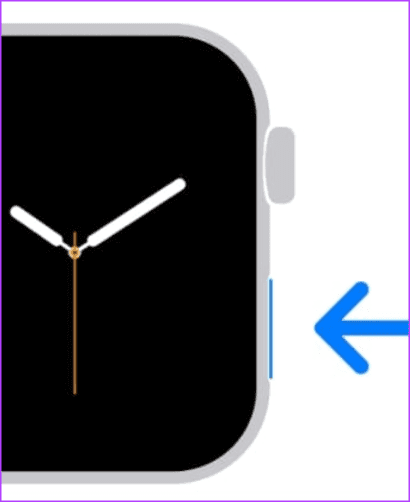
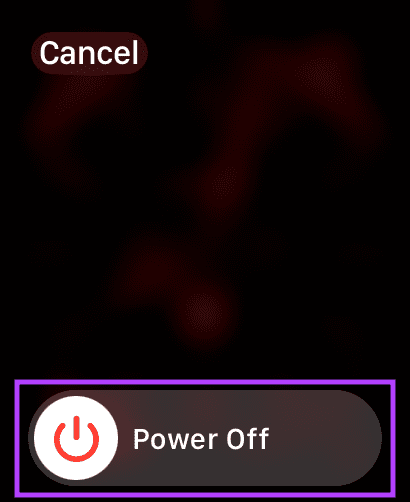
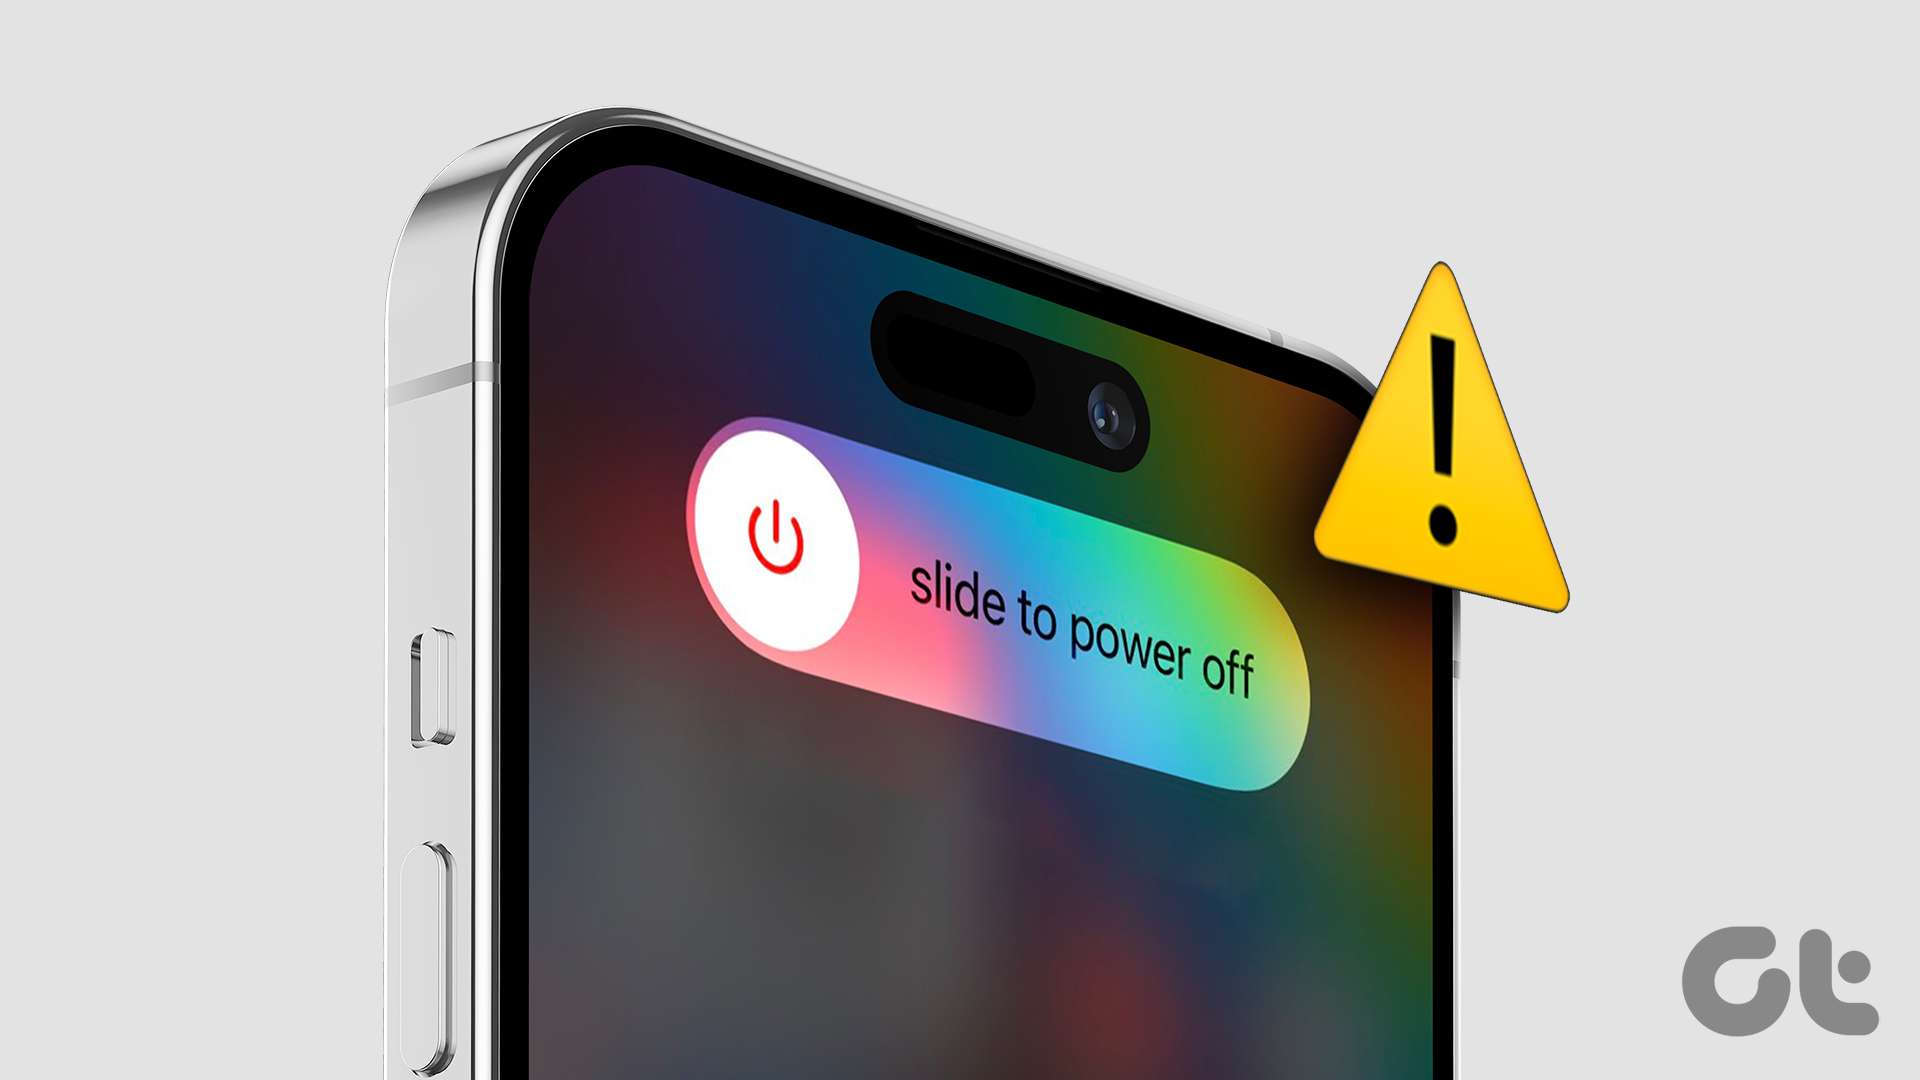
To restart your Apple Watch, press and hold the side button on your Apple Watch for a few seconds. Then, swipe the Power Off slider to the right to turn off the watch. Then, wait for a few seconds to turn your Watch back on.
2. Enable Cellular Network
The basic prerequisite for calling is a cellular network. With a cellular connection, you can place calls or send texts using your Apple Watch. So, if restarting hasn’t done the deal, first check if you have enabled a cellular network on your Apple Watch.
To turn on the cellular network, open the Watch App on your iPhone. Head to Mobile Service. Here, you can check whether your network provider’s name reflects under the Cellular Plan tab.


If your Apple Watch is not using any cellular plan, follow the on-screen instructions to set up a cellular network on your Apple Watch.
3. Ensure Strong Network
Say you have triggered the Apple Watch’s cellular network. What next? The next possible hindrance to calls failing on Apple Watch is a weak network. If you’re in an area with low network coverage, head to a place with a stronger network to see if the situation gets better.

For instance, you may not receive adequate signals in the basement or an elevator. So, ensure that the network bars indicate strong signals.
4. Contact Network Carrier
Oftentimes, there could be a glitch at the end of your network carrier, causing the calls from your Apple Watch to fail. So, it is advisable to contact your network carrier to get the issue resolved. Users got this issue solved by talking to their network carrier.
5. Toggle Airplane Mode
If you are in an area with strong network coverage and still face the call failed error on your Apple Watch, airplane mode is your next bet. Toggling the airplane mode on and off is the most convenient way out of a network error. Here’s how to do so.
Press the side button of your Apple Watch to bring up the Control Center. Now, tap on the airplane icon to turn it on. After a few seconds, turn it off to check whether the network error has been resolved.


6. Unpair and Pair the Watch
A successful pair between your Apple Watch and iPhone is essential for your watch’s smooth functioning. Many times, if the watch is not properly paired with the iPhone, users can face issues with syncing. So, first unpair your Apple Watch and then pair it back to your iPhone. Follow the steps below:
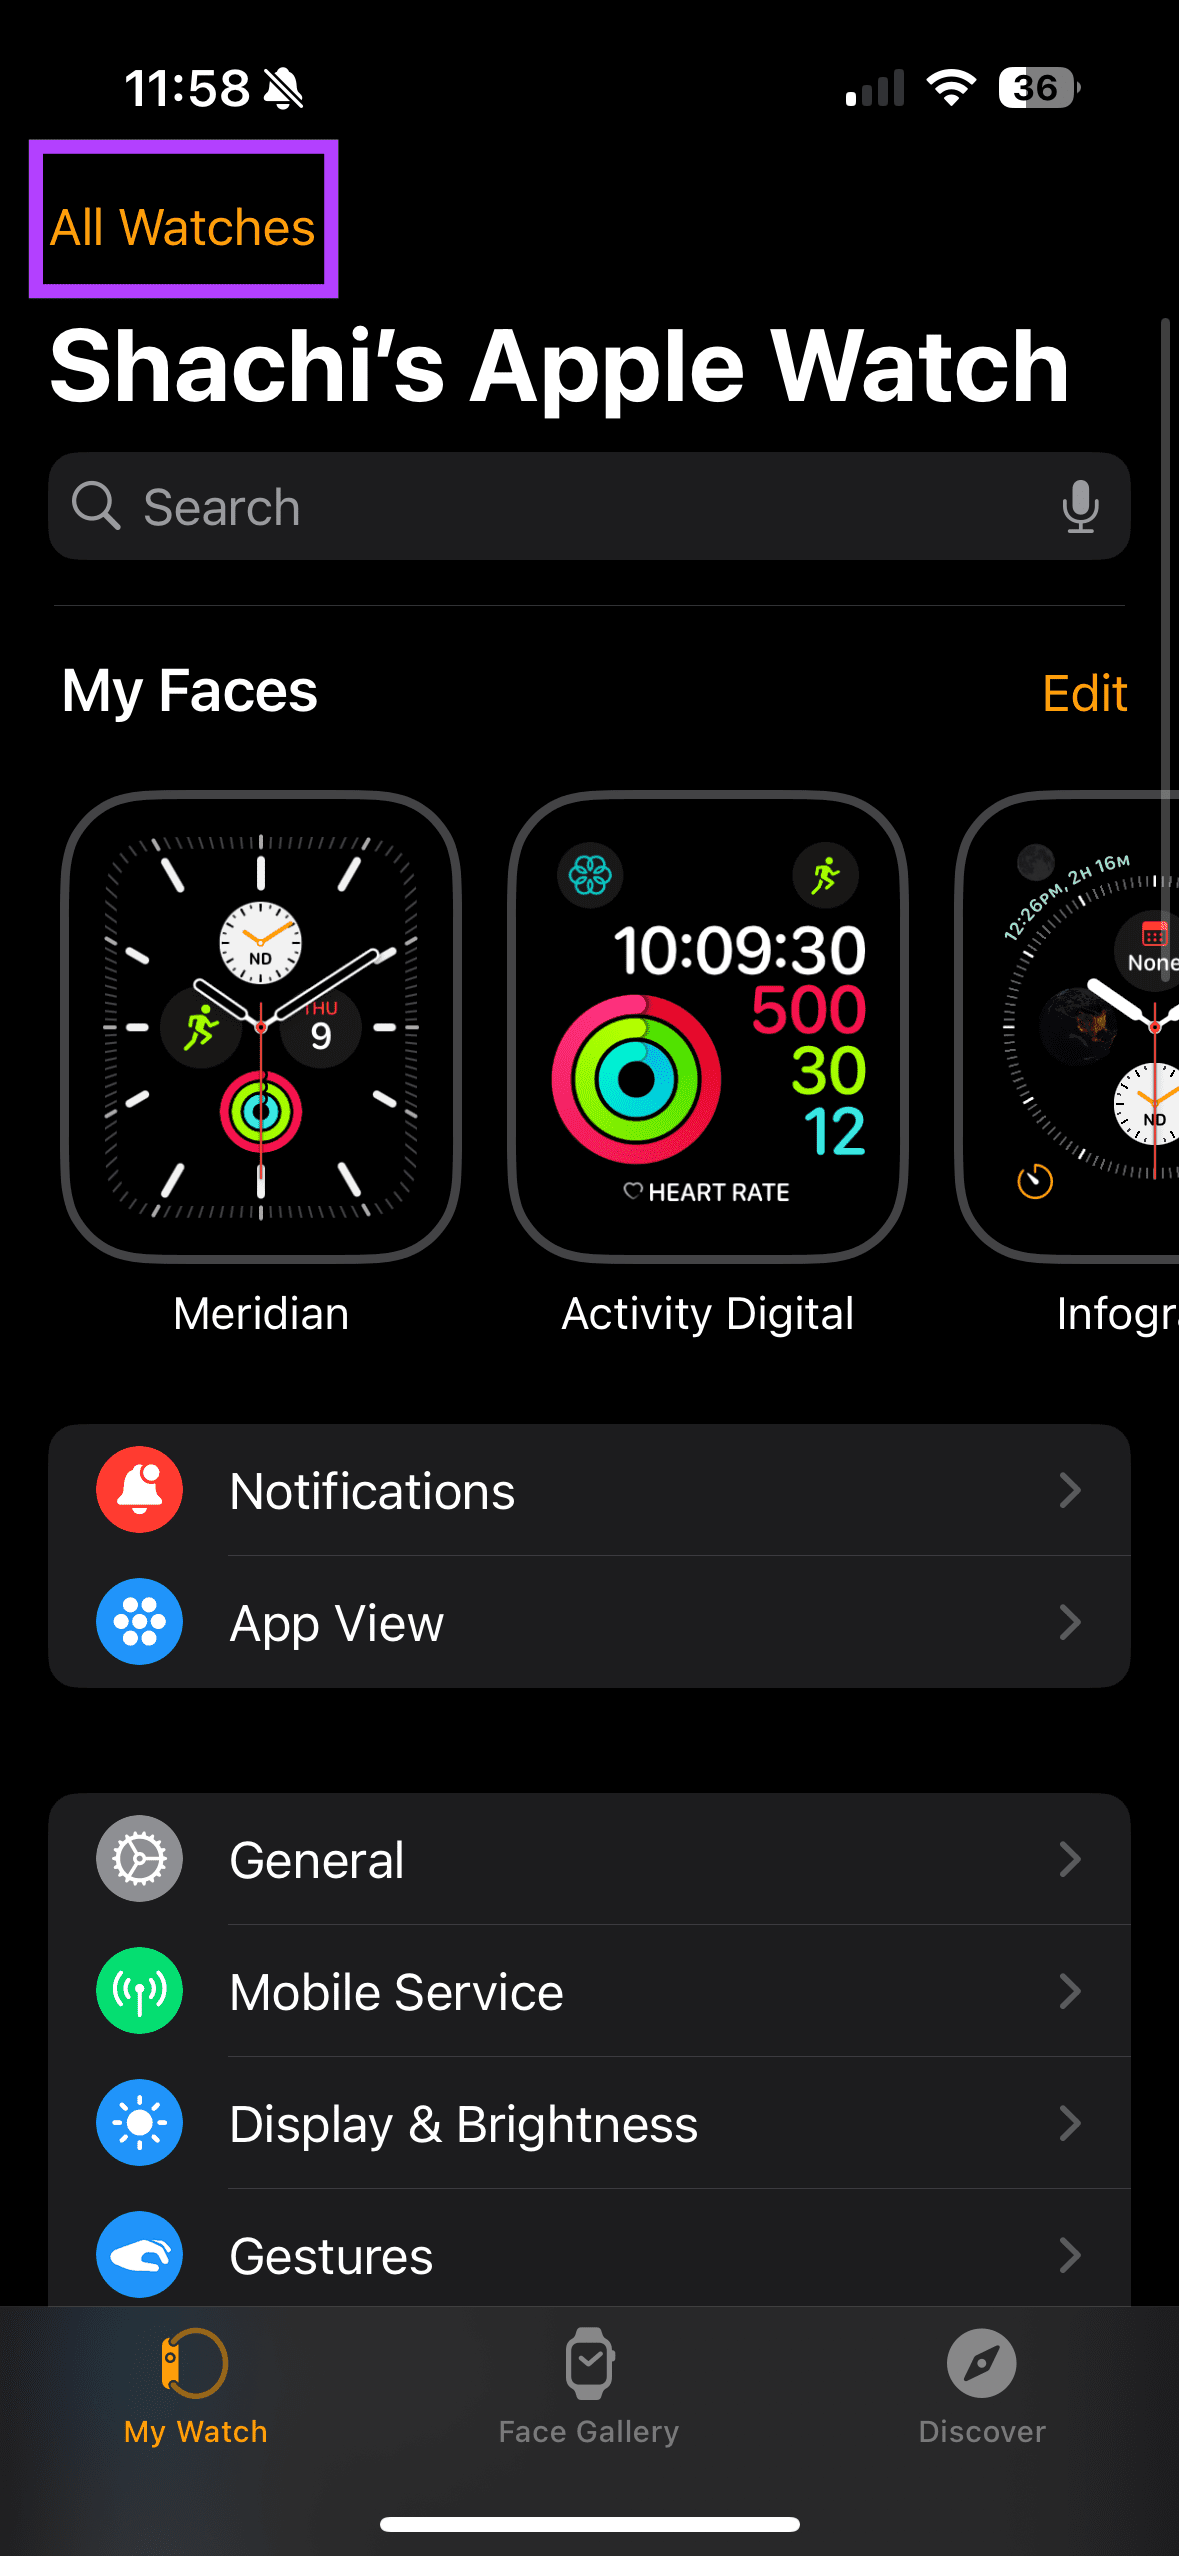
Step 1: Open the Watch App on your iPhone. Then, tap on All Watches in the top-left corner.
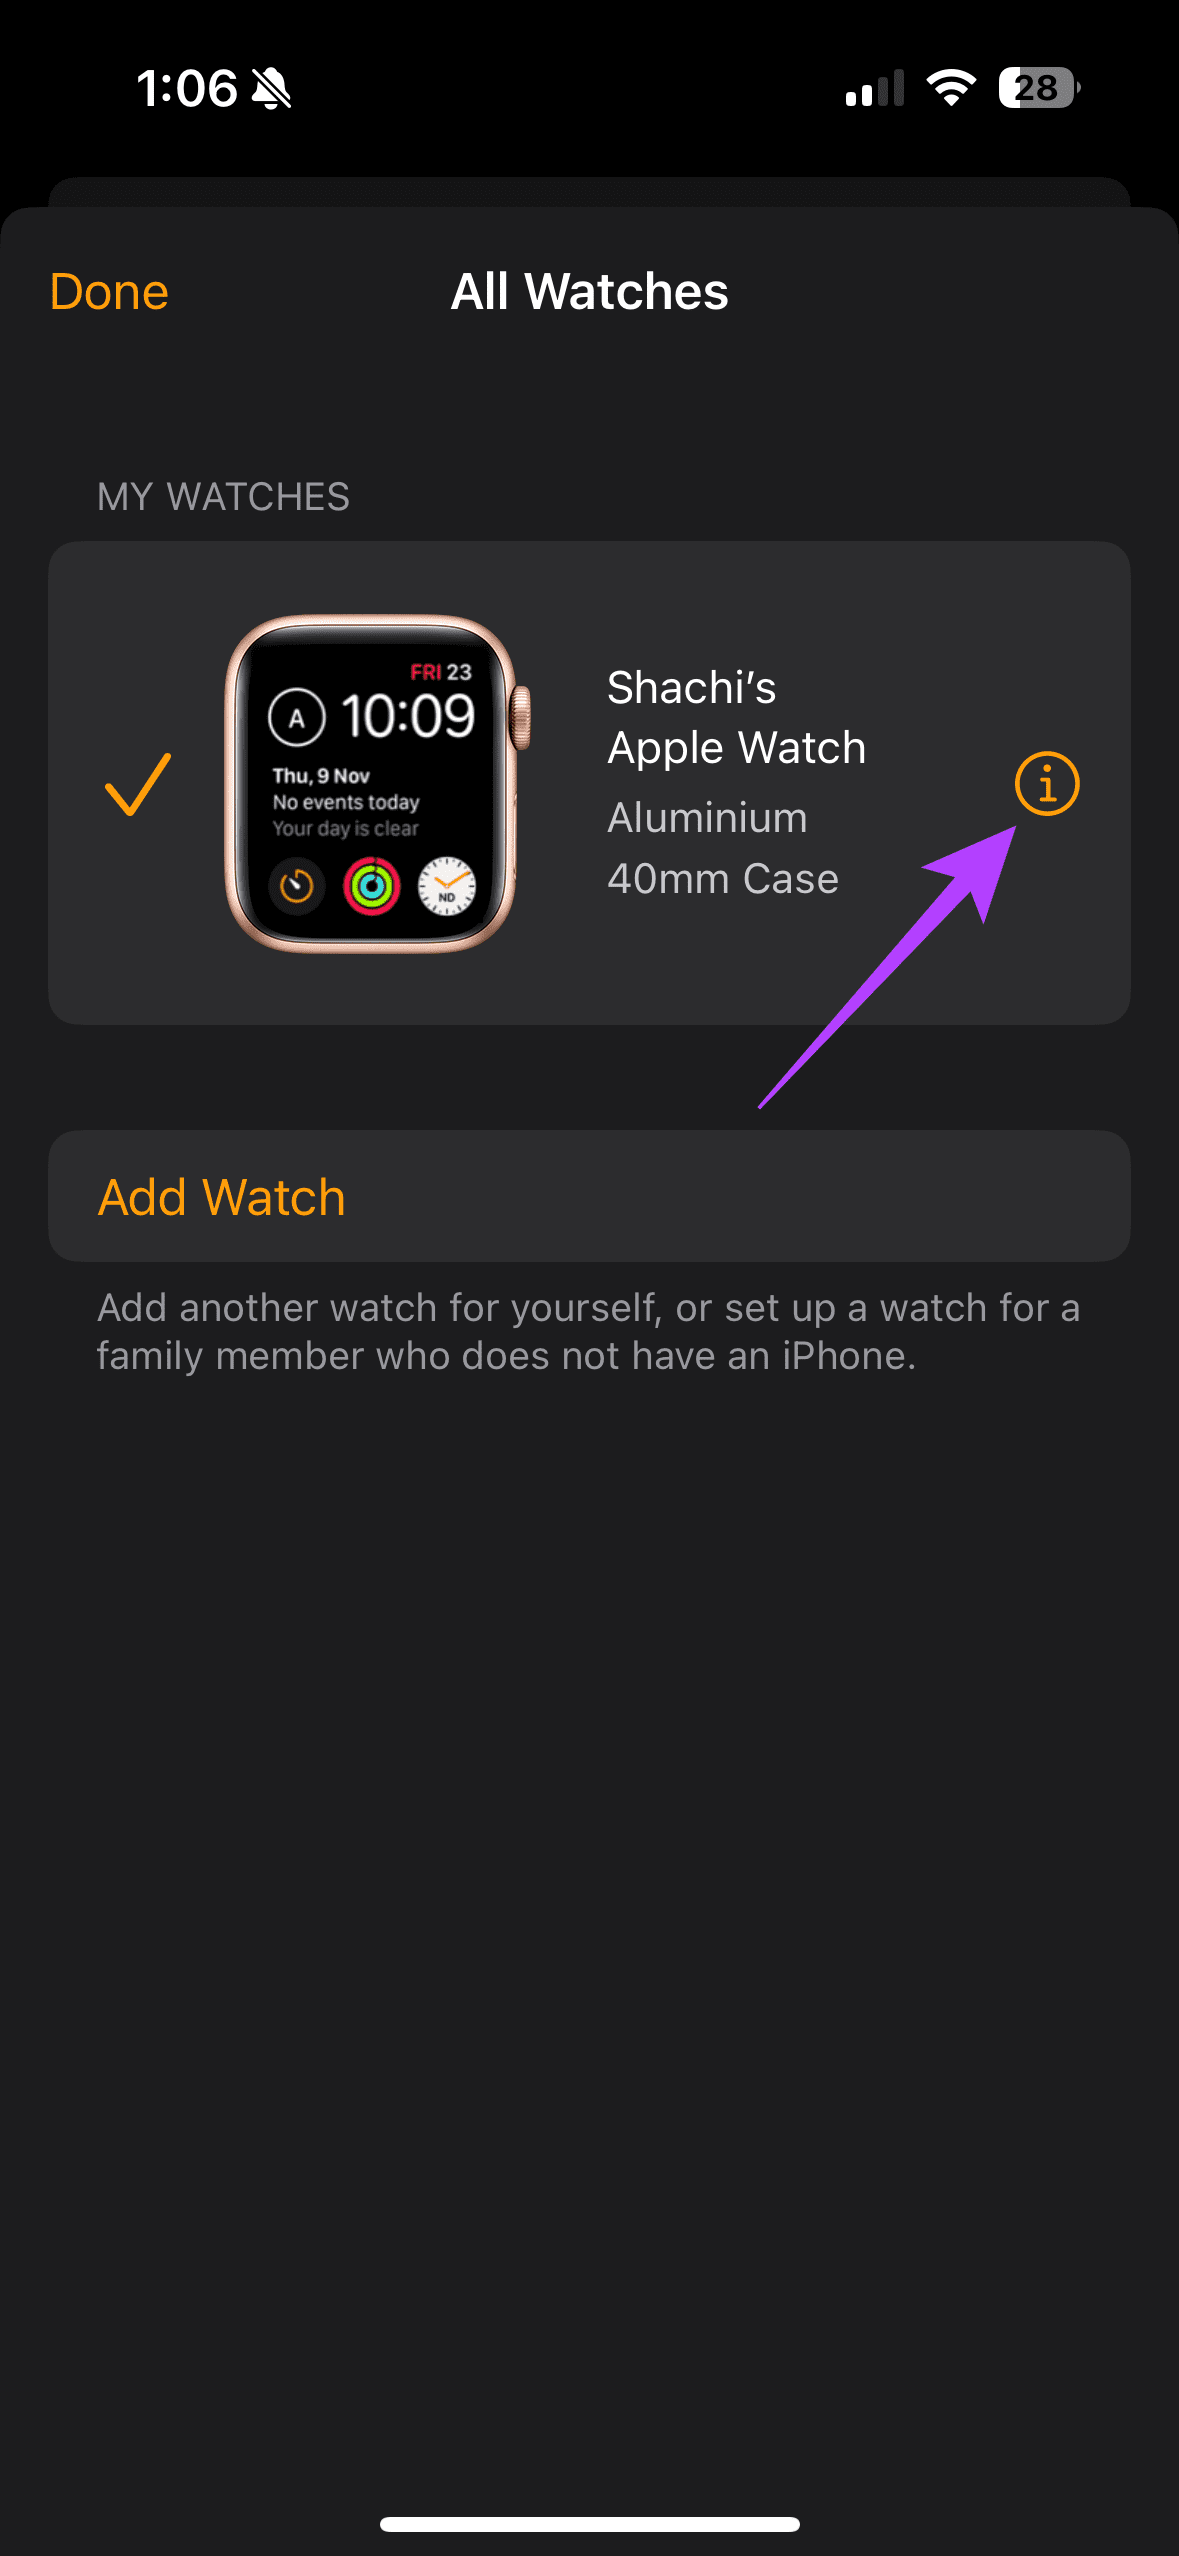
Step 2: Tap on the i icon next to your Watch’s details.
Step 3: Now, select Unpair Apple Watch. You can then choose the ‘Unpair X’s Apple Watch’ option to complete the unpairing process.


Now, follow the on-screen instructions, and your Apple Watch will be unpaired and reset. Once your Apple Watch restarts, get your iPhone close to it to set it up.
7. Reset Network Settings
It’s possible that the network error you’re facing on your Apple Watch could be due to an issue on your iPhone. Hence, resetting the network settings on your iPhone is a good idea to rule out such issues. Here’s how.
Note: Resetting network settings will remove saved Wi-Fi passwords, VPN, and related settings. However, it won’t affect other media files.
Step 1: Open Settings on your iPhone. Head to General. Then, locate and tap on ‘Transfer or Reset iPhone’


Step 2: Now, select Reset. In the pop-up, choose the Reset Network Settings option.


8. Disable Low Power Mode
The Low Power feature conserves the battery on your Apple Watch when you’re running low on power. This may hinder the functioning of certain features on your Apple Watch. So, you may face issues making or receiving calls due to the Low Power mode. To strike out if this issue is causing the call failed error, disable Low Power mode on your Apple Watch.
Step 1: Press the side button of your Apple Watch to open the Control Center.
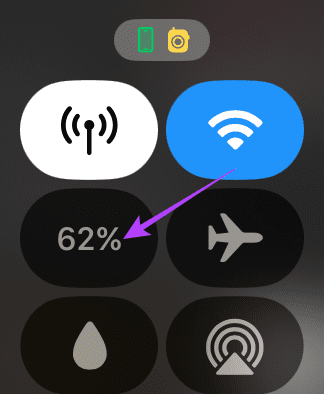
Step 2: Now, tap on the battery percentage icon to check if the Low Power Mode is on. If triggered, select ‘Low Power Mode On’ to disable the Low Power mode.

9. Stay in the Vicinity of Your iPhone
The Apple Watch and iPhone connect via Bluetooth. For a harmonious connection between the two devices, they must be within each other’s Bluetooth range. Thus, if your calls are failing, get your Apple Watch near the vicinity of your iPhone.
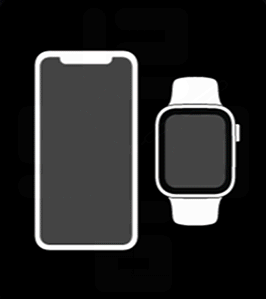
Note: This is applicable if you have a GPS-only Apple Watch. If you have a cellular variant, you need not be connected to your iPhone via Bluetooth.
10. Update watchOS
Be it a phone or wearable, updates aid in removing bugs. So, if you have been experiencing an issue with calls on your Apple Watch, check whether you’re updated to the latest software version. If not, run the update and see if the calls still fail on your Apple Watch.
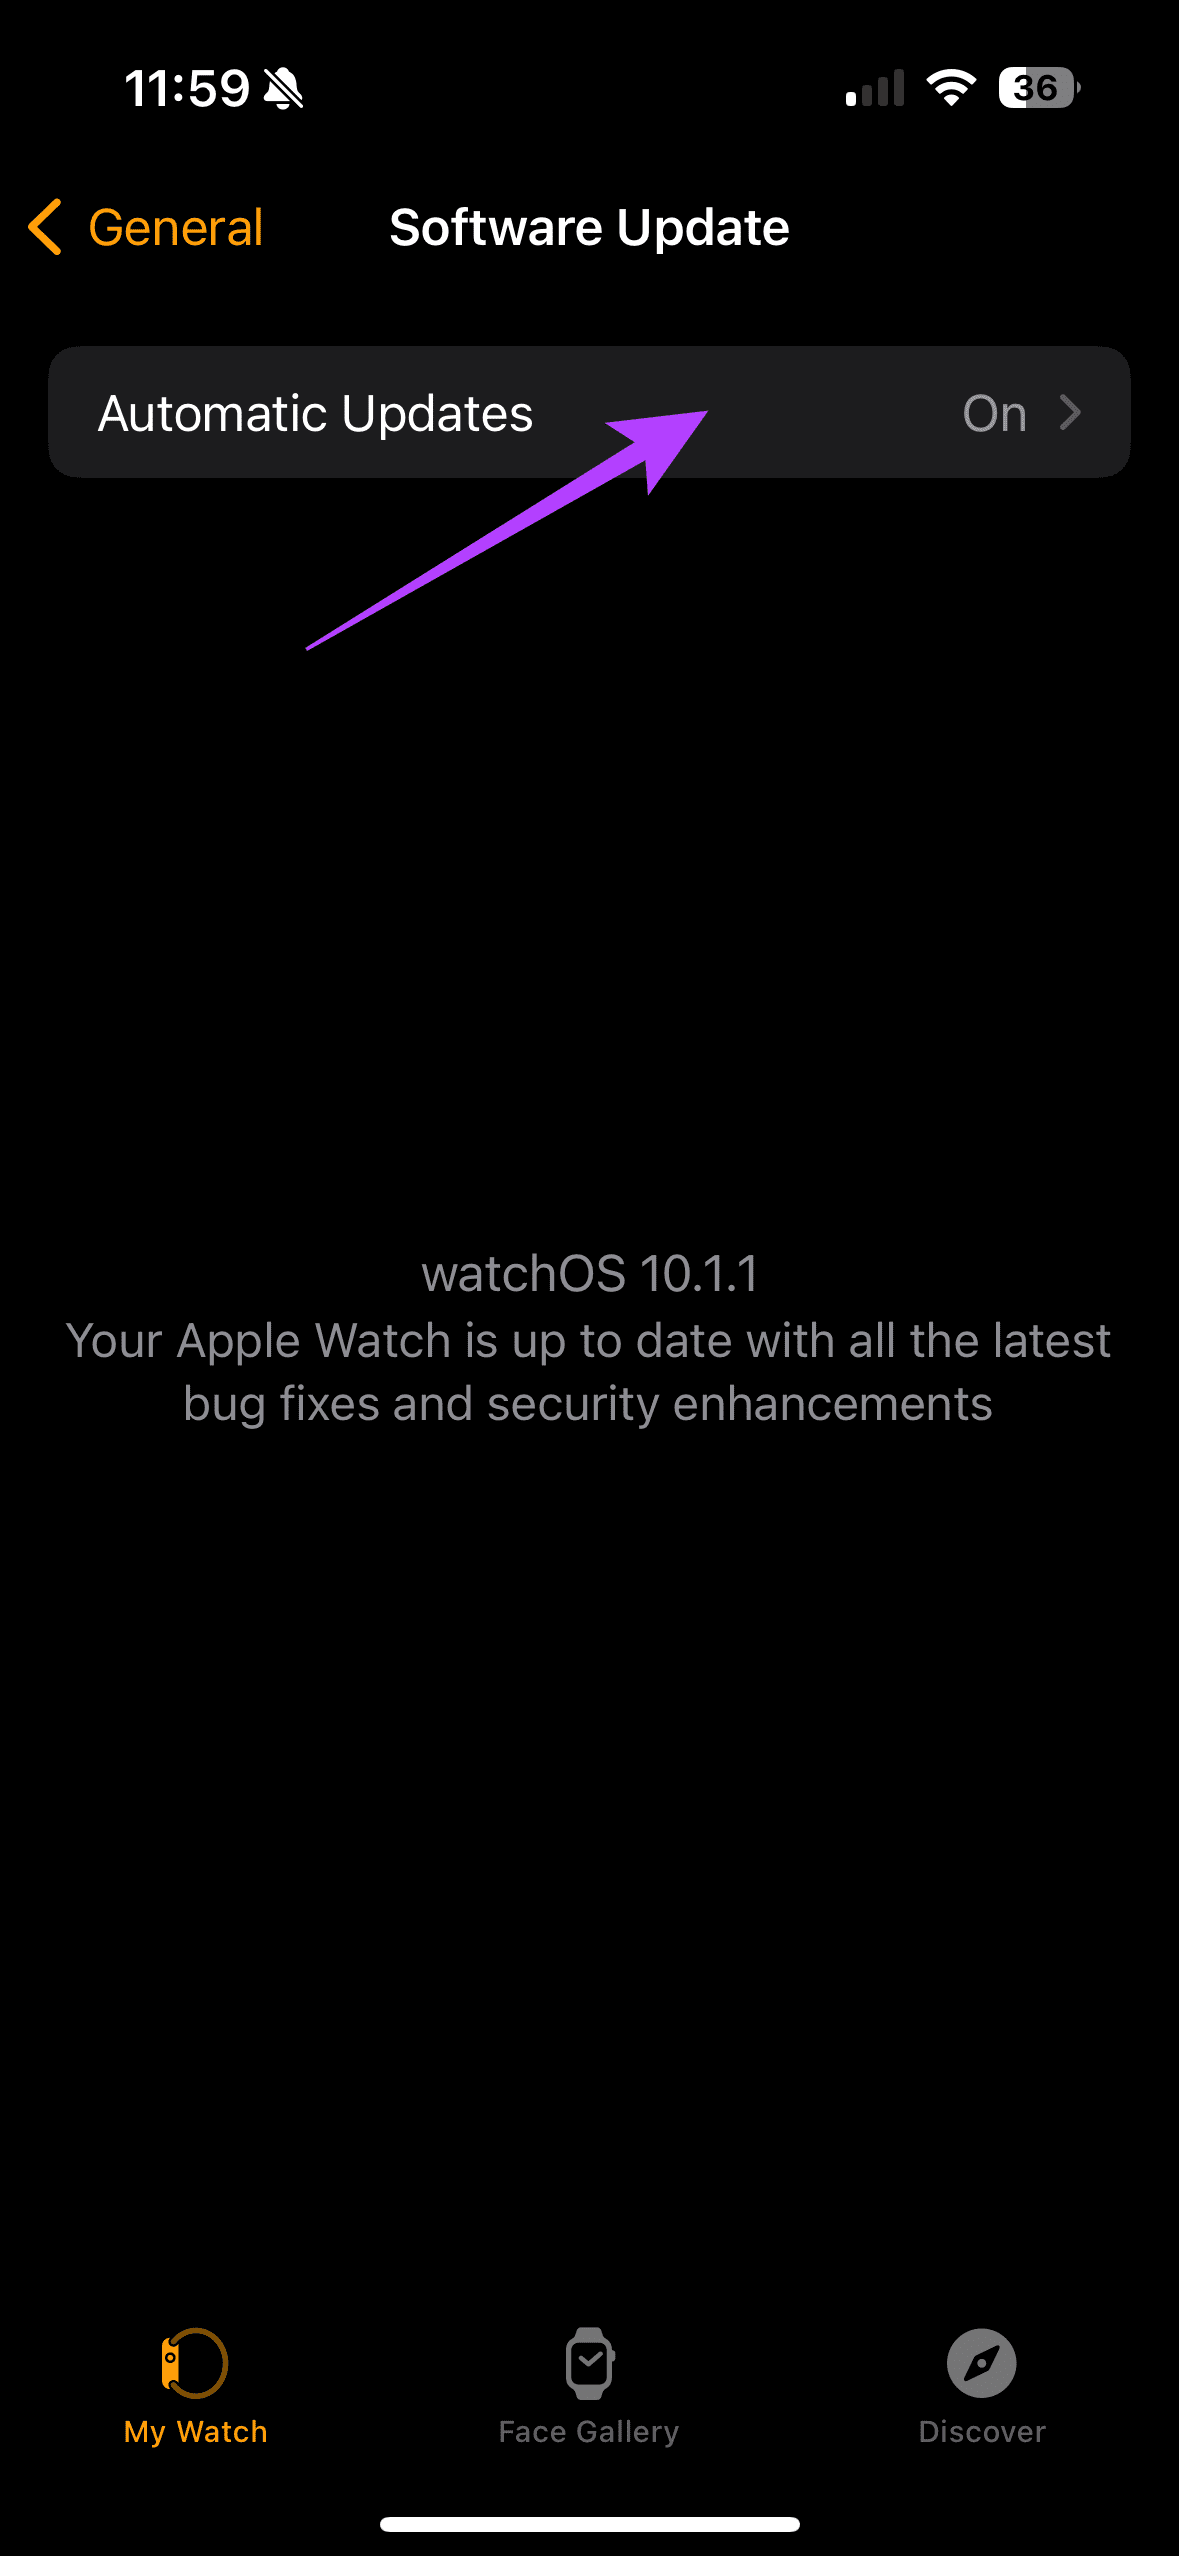
Step 1: Open the Watch app on your iPhone. Then, head to General > Software Update to check for new updates.


Step 2: Under this section, check for any new software updates. If there is one, download the update.
Tip: You can turn on the Automatic Update toggle to ensure your device is up-to-date.

Calling Made Easy
Right from basic fixes such as restarting your Apple Watch to resetting network settings on your iPhone, we have attempted to diagnose the call failed error on Apple Watch. These fixes should help you revive the calling functionality on your Apple Watch.
Was this helpful?
Last updated on 16 November, 2023
The article above may contain affiliate links which help support Guiding Tech. The content remains unbiased and authentic and will never affect our editorial integrity.


