How to Manage Headers in Microsoft Word
A header in Microsoft Word is the top-most section in a Word document. It displays information like document topic, page number, company logo, author’s name, etc. Below, we explore different ways of using it.
Inserting a Header
Step 1: Launch Microsoft Word.
Step 2: On the Ribbon, click on the Insert tab.

Step 3: Click on Header to see some built-in header designs that you can choose from.

Step 4: Select any of the templates provided, and Microsoft Word should add that template to your document.
Step 5: Move your cursor to the header and type your desired text.

Step 6: Click on Close Header and Footer after you provide the text. Alternatively, you can press the Esc key on your keyboard.

You may try some pro tips if you cannot open Microsoft Word.
Edit a Header
Step 1: Place your cursor at the top of the Word document where the header lies and double-click to launch the Header and Footer editing tool.

Step 2: Move your cursor to the header part that you want to edit and make your edits.

Step 3: After editing your header, click on Close Header and Footer in the Ribbon to close the editing tool. Alternatively, double-click anywhere in your document besides the header section to close the editor.

Deleting a Header
Step 1: Click on Insert in the Ribbon.
Step 2: Select Header from the list of options.
Step 3: Click on Remove Header.

Once you follow these steps, Word deletes the header from your document automatically.
How to Manage Footers in Microsoft Word
Managing footers in Microsoft Word is very similar to managing headers. The footer process for the headers section remains nearly the same as we discussed above. Here’s how it works:
Inserting a Footer
Step 1: Launch your Word app.
Step 2: On the Ribbon, click on the Insert tab.
Step 3: Click on Footer. Like headers, there are built-in footer designs for you to choose from.

Step 4: Select any of the templates provided, and MS Word should add that template to your document.

Step 5: Move your cursor to the footer, then provide your preferred text.
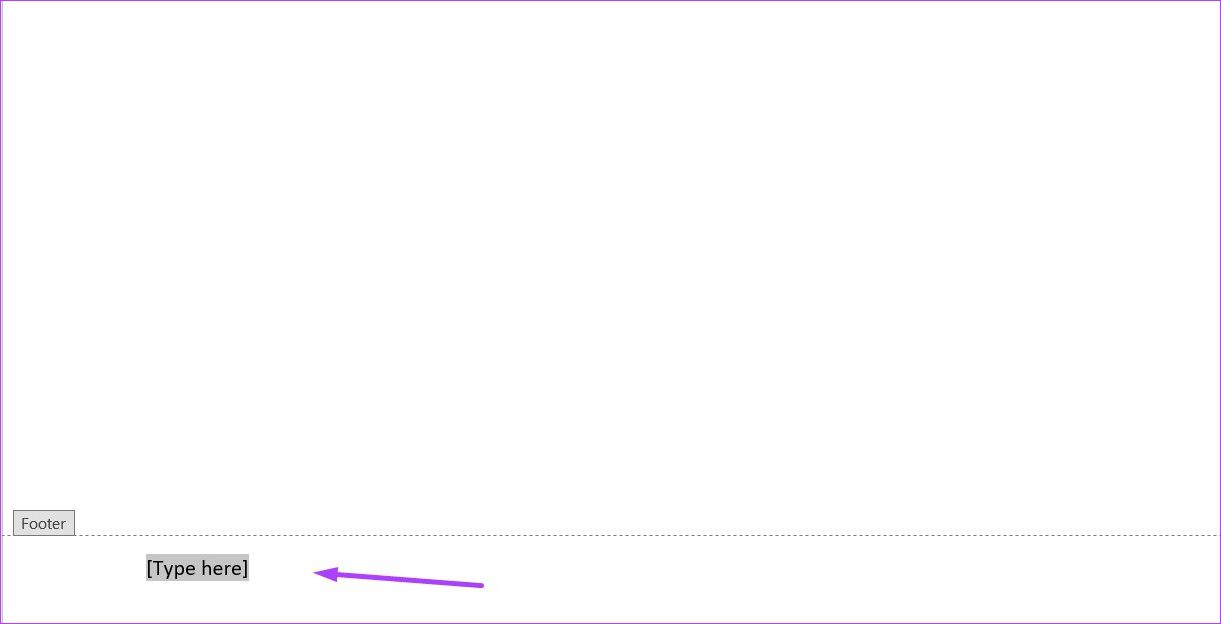
Step 6: Click Close Header and Footer after adding text. Alternatively, you can press the Esc key on your keyboard.
Edit a Footer
Step 1: Double-click the footer you want to edit. This action launches the Header and Footer editing tool.

Step 2: Move your cursor to where you need to add information in the footer and make your edits.

Step 3: After editing your footer, click Close Header and Footer in the Ribbon. This action will close the editing tool. Also, you can double-click any part of the document aside from the footer section to close the tool.
Deleting a Footer
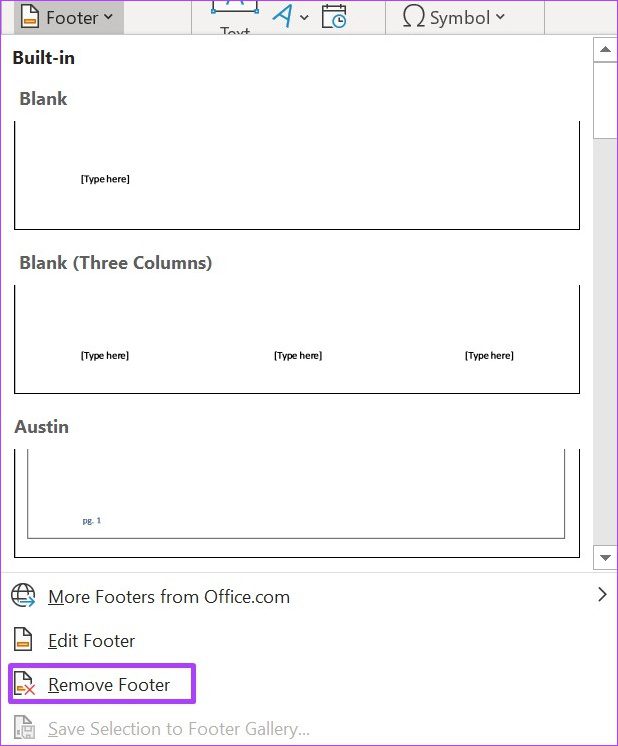
Step 1: Click on Insert in the Ribbon.
Step 2: Select Footer from the list of options.
Step 3: Click Remove Footer.
Was this helpful?
Last updated on 06 June, 2024
Read Next
 How to Put Different Headers and Footers on Different Pages in Word
Method 1: How to Add a Basic Header or Footer Before creating different headers or footers for sections of your document, it's better to know how to add them in
How to Put Different Headers and Footers on Different Pages in Word
Method 1: How to Add a Basic Header or Footer Before creating different headers or footers for sections of your document, it's better to know how to add them in
 How to Manage Bookmarks in Microsoft Word
When dealing with a brief document, you can quickly scan through its contents find the text or item you need.
How to Manage Bookmarks in Microsoft Word
When dealing with a brief document, you can quickly scan through its contents find the text or item you need.
 Google Docs vs. Microsoft Word Online: Which Word Processor Is Better
Google Docs goes toe-to-toe with Microsoft Word, especially with the Microsoft 365 subscription.
Google Docs vs. Microsoft Word Online: Which Word Processor Is Better
Google Docs goes toe-to-toe with Microsoft Word, especially with the Microsoft 365 subscription.
 Apple Pages vs Microsoft Word: Which Word Processing Software Is Better
Every major tech company out there is offering their version of the productivity suite.
Apple Pages vs Microsoft Word: Which Word Processing Software Is Better
Every major tech company out there is offering their version of the productivity suite.
 How to Manage and Share Files and Folder Access on Microsoft OneDrive
Like iCloud and Google Drive, Microsoft's OneDrive is a great cloud storage platform to store your data.
How to Manage and Share Files and Folder Access on Microsoft OneDrive
Like iCloud and Google Drive, Microsoft's OneDrive is a great cloud storage platform to store your data.
 How to Create and Manage Flagged Emails in Microsoft Outlook
When browsing your Outlook emails, you must take note of those that require an immediate or delayed response.
How to Create and Manage Flagged Emails in Microsoft Outlook
When browsing your Outlook emails, you must take note of those that require an immediate or delayed response.
 6 Best Microsoft Outlook Calendar Tips & Tricks to Manage It Better
The Microsoft Office Calendar is part of Microsoft 365 products and is not a stand-alone program.
6 Best Microsoft Outlook Calendar Tips & Tricks to Manage It Better
The Microsoft Office Calendar is part of Microsoft 365 products and is not a stand-alone program.
 How to Add and Remove Line Numbers in Microsoft Word
If you are working on a text-heavy document, and want to make referencing or browsing the document easy, you can try line numbering.
How to Add and Remove Line Numbers in Microsoft Word
If you are working on a text-heavy document, and want to make referencing or browsing the document easy, you can try line numbering.
The article above may contain affiliate links which help support Guiding Tech. The content remains unbiased and authentic and will never affect our editorial integrity.