It’s easy to go to a desktop on a Windows PC. However, if you have recently switched from a Windows PC to a MacBook and are wondering, ‘How to go to desktop on a Mac’, we are here to help. MacBook also has easy but hidden ways to show desktop. For instance, you can click on wallpaper, use a trackpad gesture, or set up a Hot Corner. Let’s check all these methods to show desktop on a Mac.
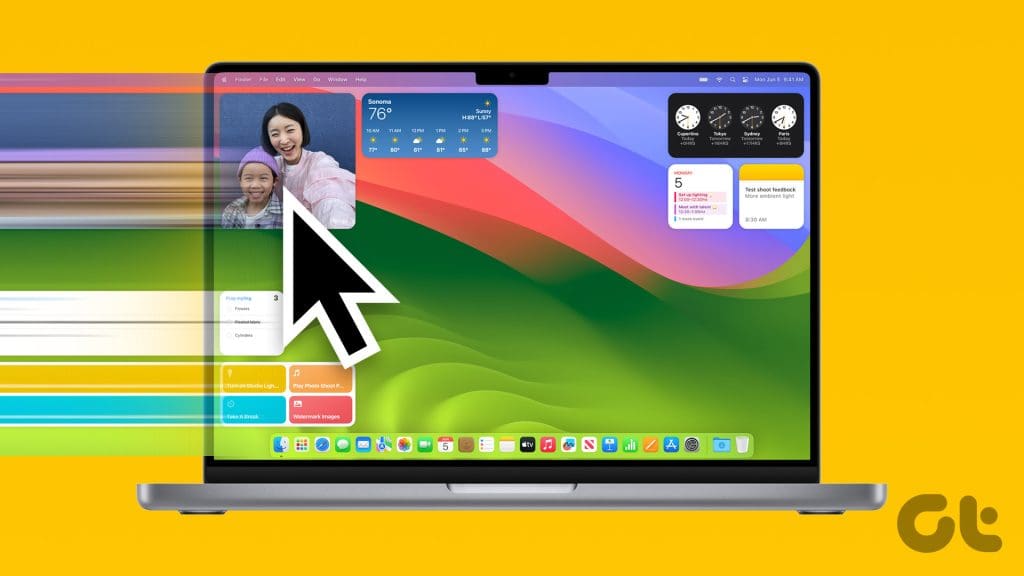
To show the desktop on Mac, all your open windows will be hidden from the view. Once on the desktop, you can view and interact with MacBook widgets, open files and apps quickly, or view and change wallpaper.
1. By Clicking on Wallpaper
With macOS Sonoma, Apple has introduced an easy way to go to the desktop. All you need to do is click on any part of your MacBook’s wallpaper to show the desktop. Click again on the wallpaper to hide the desktop and reveal the open apps.
This method has been tested on macOS Sonoma and works perfectly fine from any app and in Stage Manager as well.
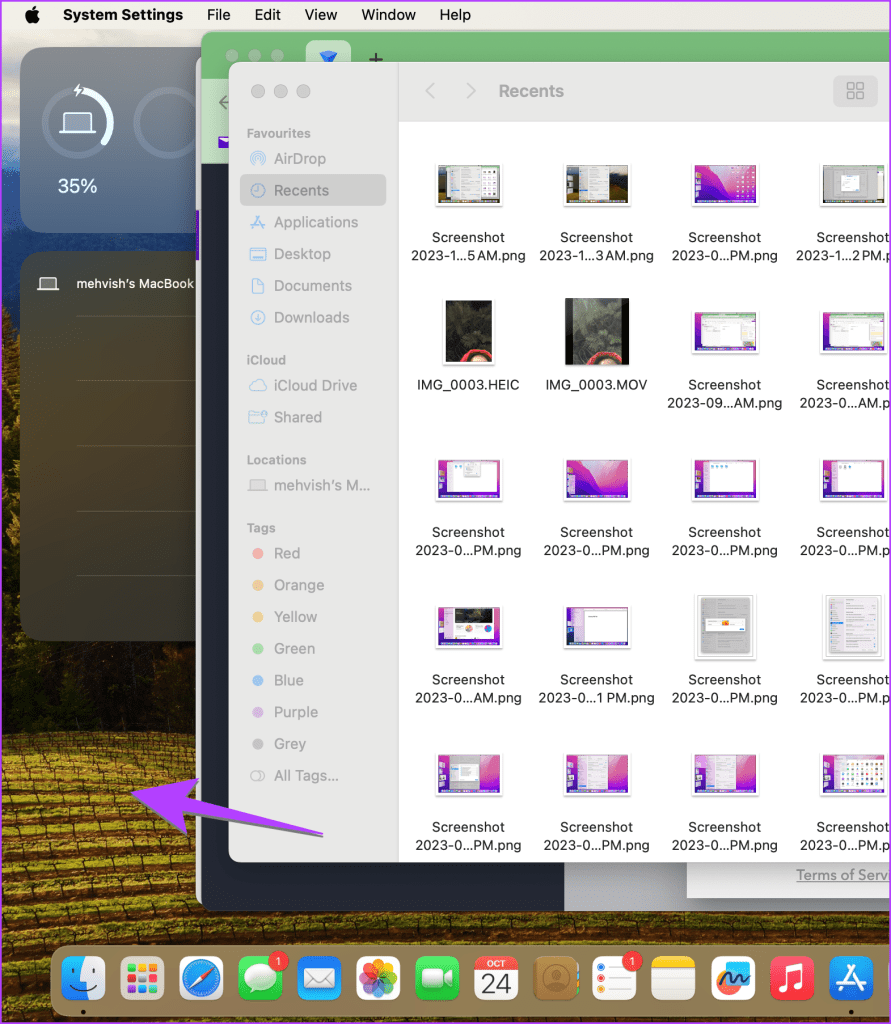
If clicking the wallpaper doesn’t reveal the desktop, go to System Settings > Desktop & Dock. Look for the ‘Click wallpaper to reveal desktop’ option. Click on ‘Only in Stage Manager’ next to it and select Always.

Tip: Learn how to change the wallpaper on your MacBook.
2. Use macOS Keyboard Shortcut to Show Desktop
If you prefer keyboard shortcuts, macOS has two shortcuts to show the desktop. Press Fn + F11 or simply F11 to reveal the desktop. Alternatively, use the Command + F3 (Mission Control) keyboard shortcut to go to the desktop on your MacBook.
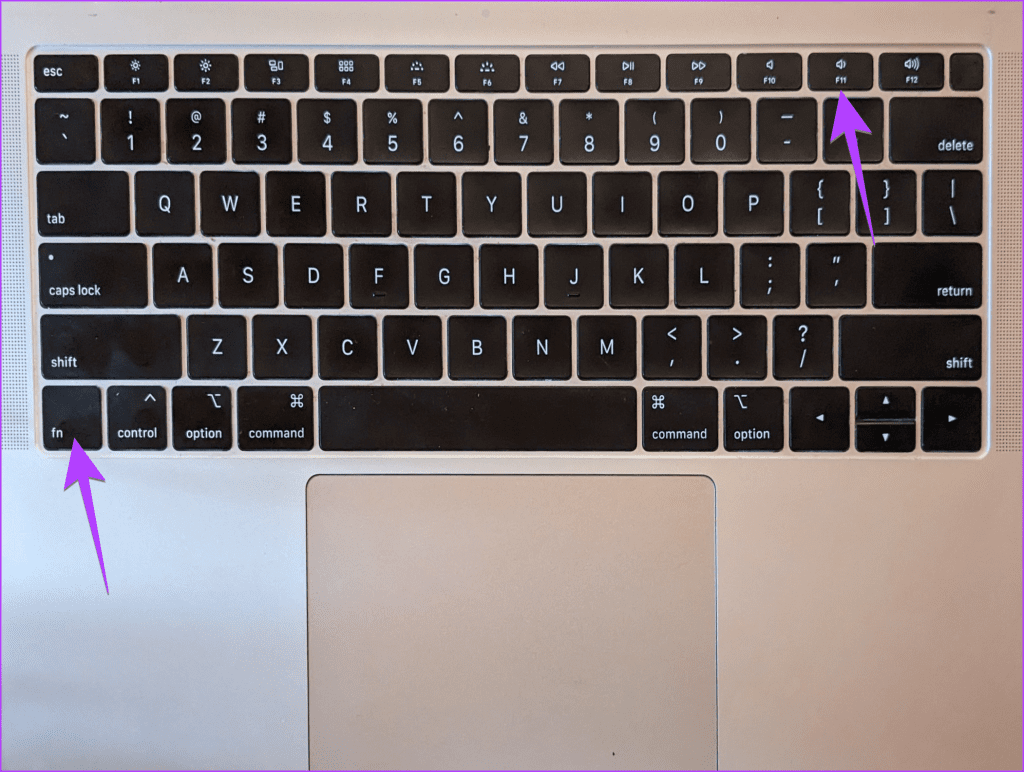
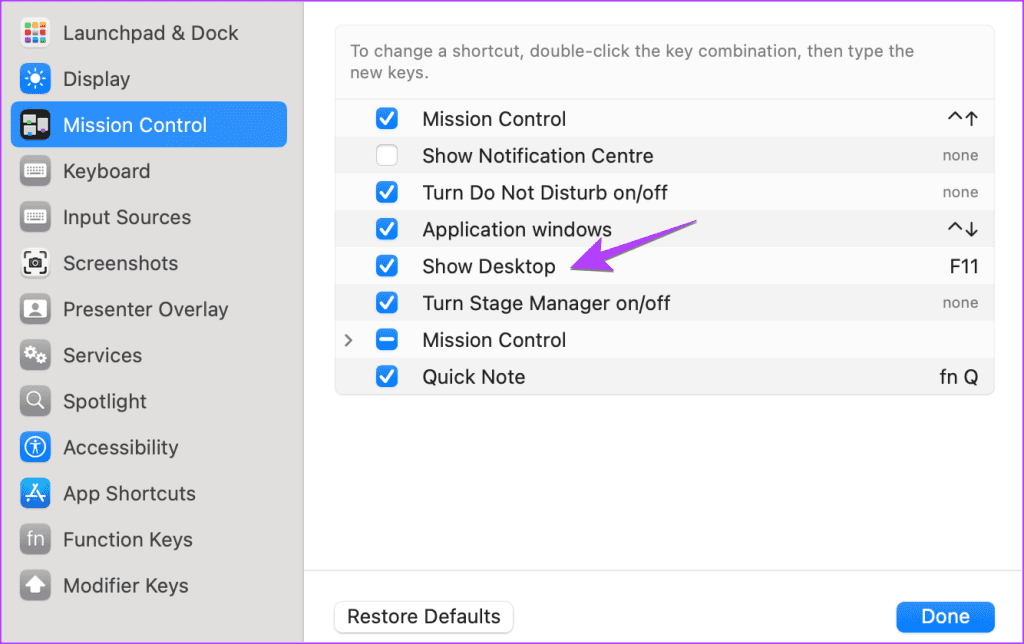
If the macOS shortcut to show the desktop isn’t working, go to System Settings > Keyboard > Keyboard Shortcuts. Click on Mission Control from the sidebar and ensure Show Desktop is checked. Also, make sure it says F11 for the Show Desktop keyboard shortcut next to it.
Tip: Use keyboard shortcuts Command + M to minimize windows and Command + H to hide windows on MacBook.
3. View Desktop on Mac Using Trackpad Gesture
If you enjoy using gestures, there’s a trackpad gesture to view the desktop on Mac. To use the show desktop gesture, place your hand on the trackpad and swipe or move three fingers away from the thumb (a zoom-out gesture using three fingers and thumb). To hide the desktop, use the pinch-in gesture using three fingers and thumb, i.e., bring the three fingers close to the thumb.
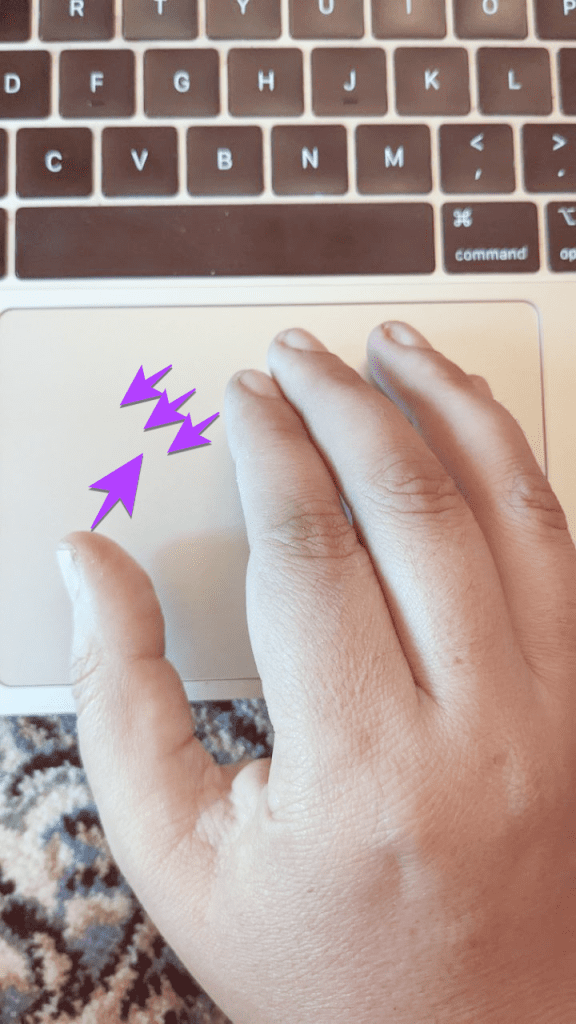
The gesture is enabled by default, but if the trackpad gesture is not working, go to System Settings > Trackpad. Click on the More Gestures tab at the top and enable the toggle next to Show Desktop.

Tip: Learn how to change the scrolling direction on MacBook.
4. From Corners
Hot Corners is a special feature in MacBooks to assign specific functions, such as Mission Control, Launchpad, Quick Note, Screen Screen Saver, etc., to your screen’s four corners. You can run the function assigned to a corner by moving your cursor to that specific corner.
To set up and show desktop as one of the Hot Corners on MacBook, follow these steps:
Step 1: Open System Settings on your MacBook.
Step 2: Go to Desktop & Dock and click on the Hot Corners button at the bottom.

Step 3: Click on the drop-down box next to a corner and select Desktop, followed by the Done button.

That’s it. Now, move your cursor or pointer to the corner to which you assigned the Desktop action to show the desktop on your Mac.
Tip: Learn how to use hot corners on your iPhone
Bonus: How to Fix App Icons or Files Not Showing in Desktop or Stage Manager
You might not see desktop items like app icons and hard drives in Stage Manager by default. But if you aren’t seeing them on your regular desktop as well, you must enable the Show items setting as shown below.
Step 1: Go to System Settings and click on Desktop & Dock.
Step 2: Go to the Desktop & Stage Manager section and check the box for On Desktop to show items on your desktop.
If you want to show them in Stage Manager too, select the box for ‘In Stage Manager’.

Tip: Know how to fix Stage Manager not working on Mac
Know Your MacBook
Those were the easy methods to show desktop on a MacBook. Before you go, know where is my computer on MacBook. Also, learn how to edit screenshots on Mac.
Was this helpful?
Last updated on 30 October, 2023
The article above may contain affiliate links which help support Guiding Tech. The content remains unbiased and authentic and will never affect our editorial integrity.

