Google Gemini is like a magic paintbrush that uses artificial intelligence (AI) to create amazing images. Whether you’re an artist looking for fresh ideas or curious about AI, this guide will show you how to generate AI images with Google Gemini.

Gemini creates stunning and distinctive images via an incredibly intelligent technology known as deep learning. Its user-friendly design and strong algorithms make it simple, even for non-techies. Now, let’s get started and generate some stunning visuals.
How to Use Gemini to Create Images
Step 1. Open your web browser and go to the Google Gemini website.
Step 2. Log in to your Gemini account by entering your email and password and clicking on the Login button.
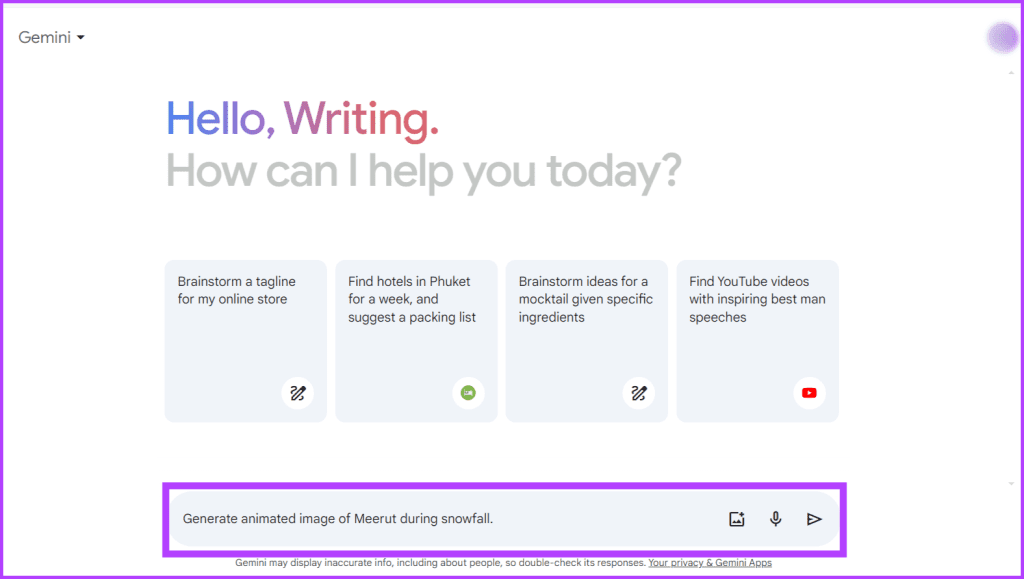
Step 3. In the search box, type the description of the image you want the AI to create and press the Submit button.
Note: Start your prompt with words like draw, generate, or create.
Also Read: How to use Google Bard for free
How to Download the AI Image
Here’s how you can download the pictures created by Gemini AI image generator:
Step 1: Hover your cursor over the image you wish to download.
Step 2: Locate and click on the Download button, represented by an arrow pointing downwards.

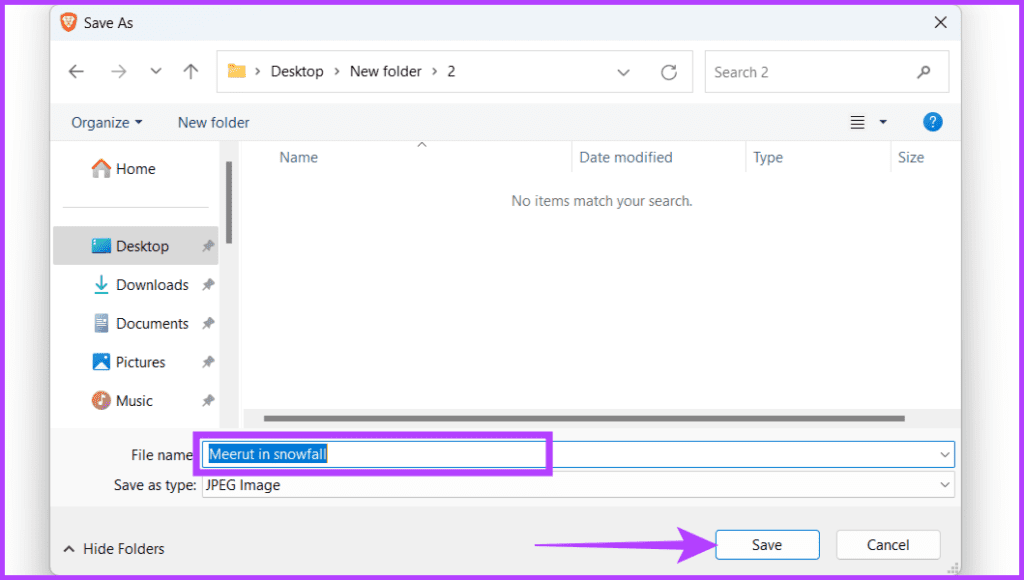
Step 3: Now, a dialog box will appear. Select a destination on your device to save the image. Modify the name of the image and click the Save button.
If you want to download all the images at once, follow the steps below:
Step 1: Scroll down the page and find the Share icon.
Step 2: Choose Download all images from the list.
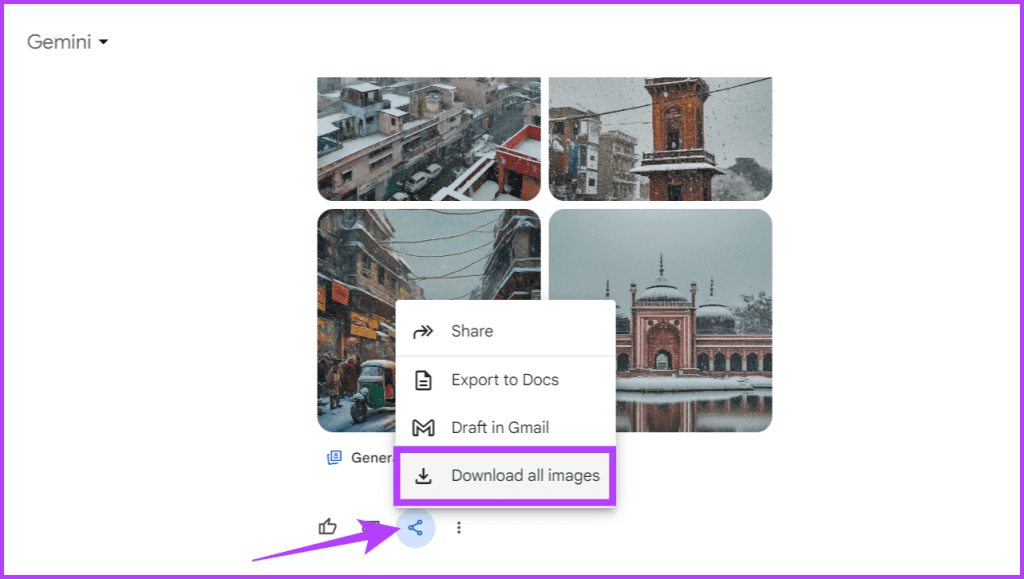
Step 3: In the pop-up window, choose a location to save the file. Rename the folder and hit the Save button.
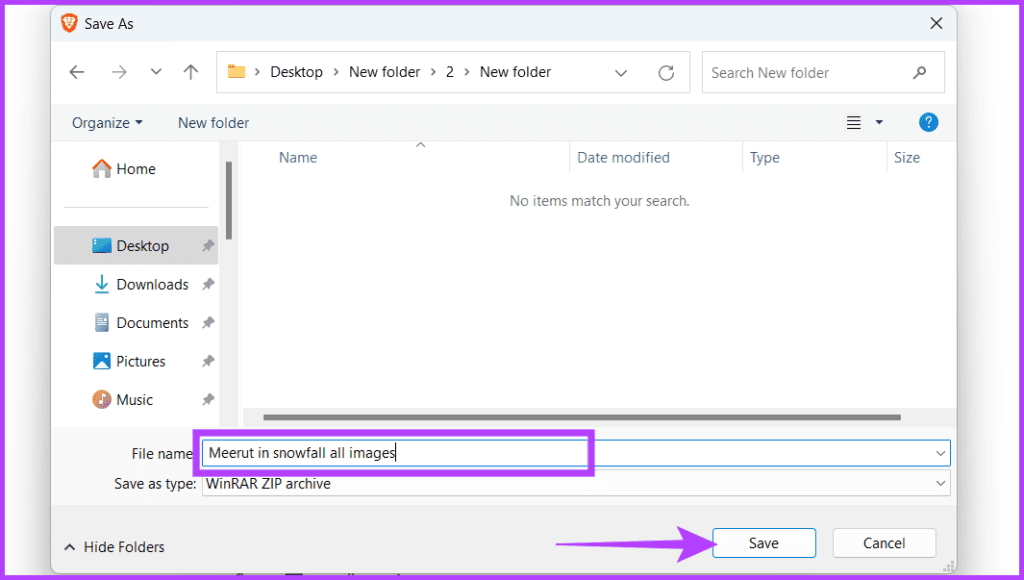
A zip file containing all images will now be downloaded. Once the download is complete, locate the downloaded zip file and unzip or extract its contents. After extraction, you can access all the downloaded images in the specified folder.
How to Generate More Images
If you’re not satisfied with the images generated or want to explore more images, follow the steps below:
Step 1: Scroll down the page.
Step 2: Click the Generate more button.
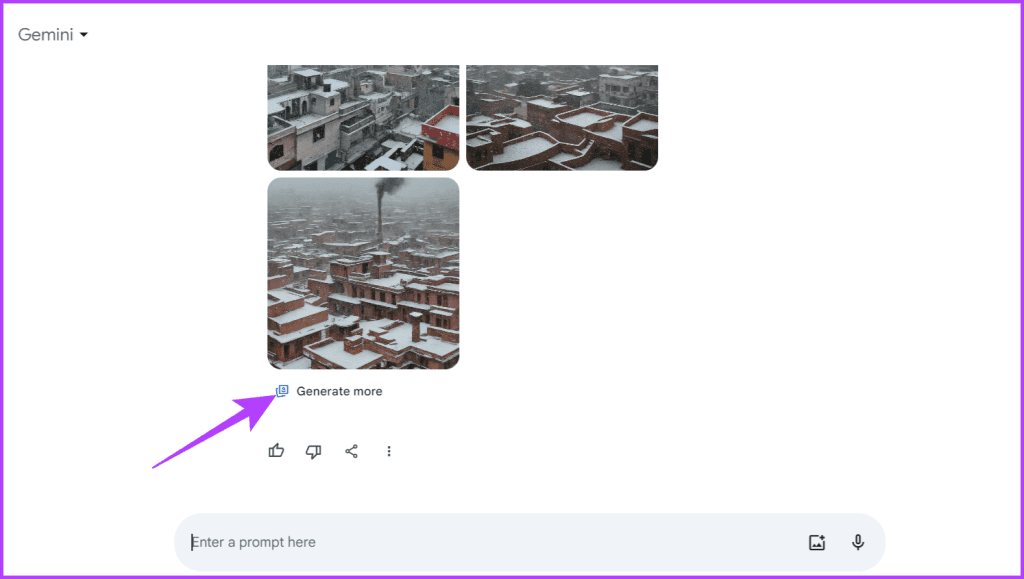
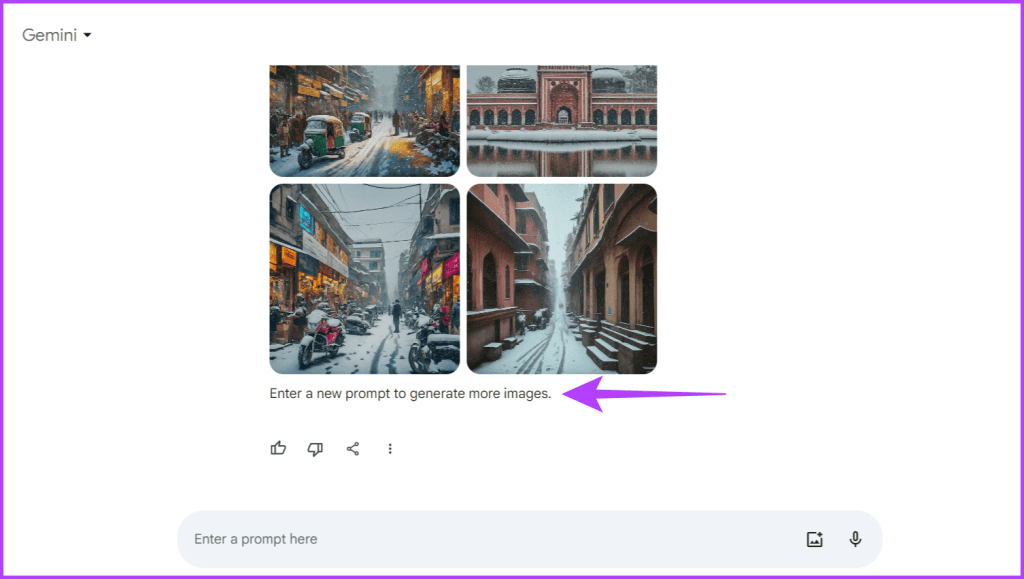
Now, the AI will give you two more AI-generated images. You can click it multiple times to get up to four additional images, for six per prompt. Once you exhaust the limit, you must edit the prompt or enter a new one.
Also Read: How to enable and use extensions with Google Bard
How to Improve Your AI-Generated Images
Making your AI-created pictures better involves a mix of methods. It’s not only about using smart computer programs but also about your creative ideas and crafty input. By blending machine learning accuracy with your creative flair, you can make images that catch people’s attention.
Here are some tips to improve your AI-generated images.
1. Refine Your Prompt for Optimal Results
Being careful and precise when telling the computer what to do is essential to make the best AI pictures. Adjusting your instructions using clear language, giving specific details, and refining your ideas over time can greatly affect how well your pictures turn out.
This process of improving your instructions helps the AI understand exactly what you want, making images look like your imagination.
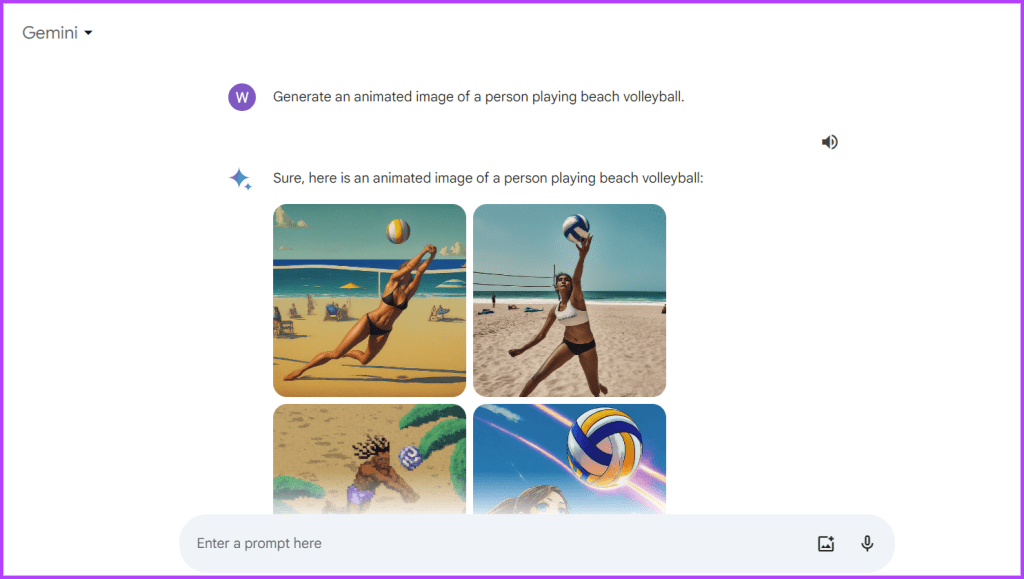
2. Experiment With Various Art Styles
Trying new things is important to improve your creations. When making AI art, try different ways and look at specific art styles for inspiration. Mention famous artists or artworks and explore styles such as abstract, cubism, still life, or portraiture in the prompt so that the AI can better understand what exactly you expect from it.

3. Use Image Prompts
Using pictures to help the computer understand what you want is a great trick to improve AI pictures. Instead of telling Gemini what you wish in words, show it pictures to help it understand the small details and feelings you’re thinking of.
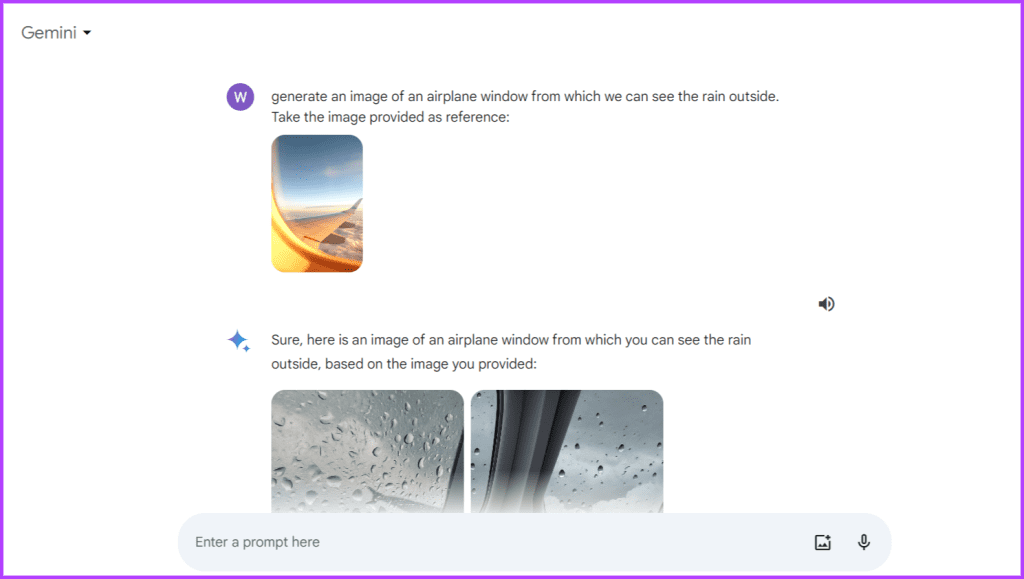
Combining visual cues with written instructions helps the computer make images that match your ideas better. It’s like building a connection between your imagination and the computer, making the pictures it creates better.
4. Emphasize Descriptiveness and Clarity
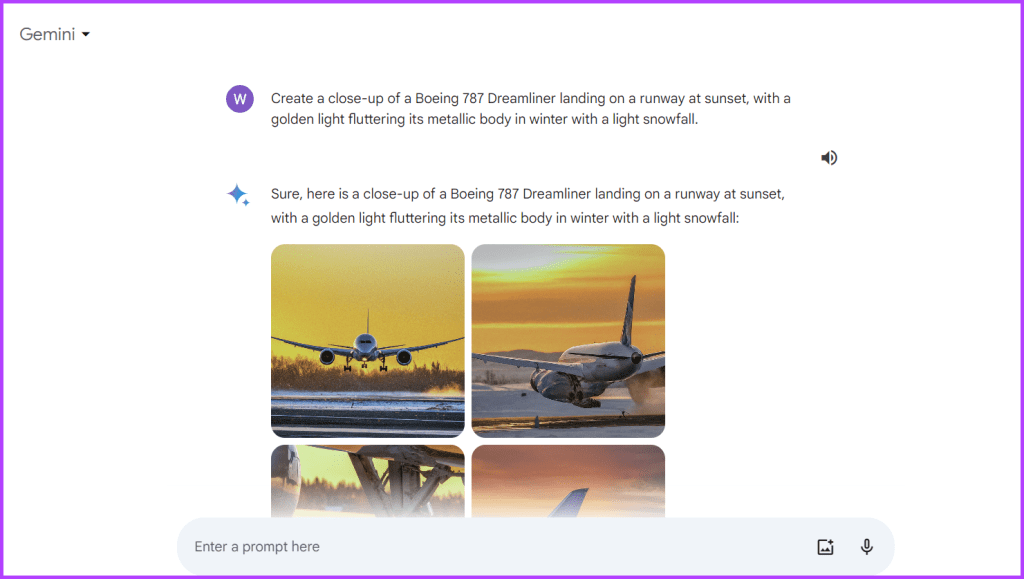
A big part of improving AI pictures is ensuring they’re clear and detailed. The more details you give the AI tool about what you want, the better it can understand and create what you’re thinking. Get into the small details of what you want in your picture, like the colors, how it’s arranged, and the feelings you want it to have.
How to Generate Viral AI Social Media Images With Google Gemini
Generating the viral AI social media image with the help of Gemini AI is a breeze. Adhere to the easy steps below:
Step 1: Launch a web browser and head to the Gemini website.
Step 2: In the search box, enter the following prompt and hit Enter.
Generate an image of an animated character [define the gender and ethnicity of your choice] sitting casually on top of the [social media] logo. The character should be wearing modern casual clothing: [define clothing].

Also Read: How to view and delete Bard history and activity data
FAQs on Gemini Image Generation
Image generation in Gemini is free and unlimited.
No, you can’t use the image generation feature in the European Economic Area (EEA), Switzerland, or the UK.
You can use a virtual private network (VPN) to generate images in the EEA using Gemini AI.
Image Generated
We hope the article above has helped you learn how to generate AI images with Google Gemini. It’s easier than DALL-E, Midjourney, or Stable Diffusion and way more budget-friendly. Happy creation!
Was this helpful?
Last updated on 14 March, 2024
The article above may contain affiliate links which help support Guiding Tech. The content remains unbiased and authentic and will never affect our editorial integrity.


